RECIPES AND MORE FROM AN URBAN KITCHEN
Showing posts with label dessert. Show all posts

Tuesday, March 6, 2012

Peanut Butter Rice Krispie Treats


Rice Krispie Treats are the first things I remember ever making. As a kid, they're practically all I ever wanted to eat, and I can still recall with startling clarity that first time I stood dwarfed at my mother's huge stove, standing on a step stool, stirring the sticky pot of cereal, marshmallow, and butter, to miraculously make a sum that was so much bigger than it's parts. It seemed like magic to me at the time, like a mysterious alchemy that ended in the most delicious treat, perfect parts chewy and crunchy. My tastes have now grown up a bit, but I still can't resist the occasional Rice Krispie Treat splurge, whether I make my own batch at home, or pick up a post-lunch brown butter version at Peels.

When I stumbled across a healthier recipe for the treats that was vegan, gluten-free and incorporated peanut butter, I was sold. Peanut butter? No fatty butter? Sounded too good to be true. Thankfully I was proven wrong once I took a bite of the quick batch I made one weekday night and tasted the results. They were even better than my childhood favorites, and probably had half the calories. I can now safely say that I will never make the regular kind again. My one caveat? Unless you wrap them in plastic, they don't stay as chewy as the originals given 24 hours or so, so they're best eaten the day they're made. But that's kind of a good problem, wouldn't you say? xo


Peanut Butter Rice Krispie Treats
From Food & Wine, March 2012
Ingredients:
3 tablespoons coconut oil, plus more for greasing 
One 10-ounce bag marshmallows 
3/4 cup creamy peanut butter 
7 ounces Rice Krispies Gluten Free with Brown Rice (6 cups)

Directions:
Lightly grease a 9-by-13-inch baking pan with coconut oil. In a large pot, melt the 3 tablespoons of coconut oil. Add the marshmallows and cook thoroughly over low heat, stirring constantly, until they are melted, about 5 minutes. Add the creamy peanut butter and stir until incorporated. Remove the pot from the heat and immediately add the Rice Krispies. Using a wooden spoon or firm spatula, stir to coat them completely. Scrape the mixture into the prepared baking pan and, using a sheet of wax paper, press evenly on the mixture to compact it. Let the Rice Krispie treats cool completely, then cut them into squares and serve. 

Thursday, January 26, 2012

Chocolate Peanut Butter Cups


Is there anyone out there who didn't love Reese's Pieces peanut butter cups as a kid? No? Didn't think so. It's an irrefutable fact that the combination of sweet chocolate and creamy peanut butter is one that is nearly impossible to beat. But in recent years I've grown to shy away from typical drugstore candy, preferring to get my sugar fixes from good quality chocolate, freshly baked sweets, and homemade ice cream. I mean, if my diet's going down, it might as well be with the good stuff, right? If I ever really dieted, that is. Anyway. My point is is that as much as I love peanut butter and chocolate together, I can't really justify eating Reese's Pieces to myself anymore--it's got loads of weird, chemical-sounding ingredients that I can't pronounce, and to be honest, it really doesn't taste all that great to me anymore.

Enter, this vegan, all-natural, homemade version, made with Earth Balance butter, soy milk, carob chips, and organic crunchy peanut butter. Not only does it taste better by leaps and bounds (I promise), it's also almost guilt-free. Confession: the recipe called for maple sugar, but I couldn't find any so I just used good, old-fashioned Domino granulated sugar. If you're of the school that vegan food can't taste good, make these immediately. You'll see. xo


Chocolate Peanut Butter Cups
From The Kind Life with Alicia Silverstone
Ingredients:
1⁄2 cup Earth Balance butter
3⁄4 cup crunchy peanut butter (preferably unsweetened and unsalted)
3⁄4 cup graham cracker crumbs
1⁄4 cup maple sugar or other granulated sweetener (I used regular sugar and it was fine)
1 cup grain-sweetened, nondairy chocolate or carob chips
1⁄4 cup soy, rice, or nut milk
1⁄4 cup chopped pecans, almonds, or peanuts 


Directions:
Line a 12-cup muffin tin with paper liners. Set aside.

Melt the butter in a small saucepan over medium heat. Stir in the peanut butter, graham cracker crumbs, and sugar and mix well. Remove the mixture from the heat. Evenly divide the mixture, approximately 2 tablespoons per cup, among the muffin cups.

Combine the chocolate and milk in another pan. Stir over medium heat until the chocolate has melted. Spoon the chocolate evenly over the peanut butter mixture. Top with chopped nuts. Place in the refrigerator to set for at least 2 hours before serving.

They are great soft, but even better a little firmer!

Tuesday, November 15, 2011

Milk Chocolate Pudding


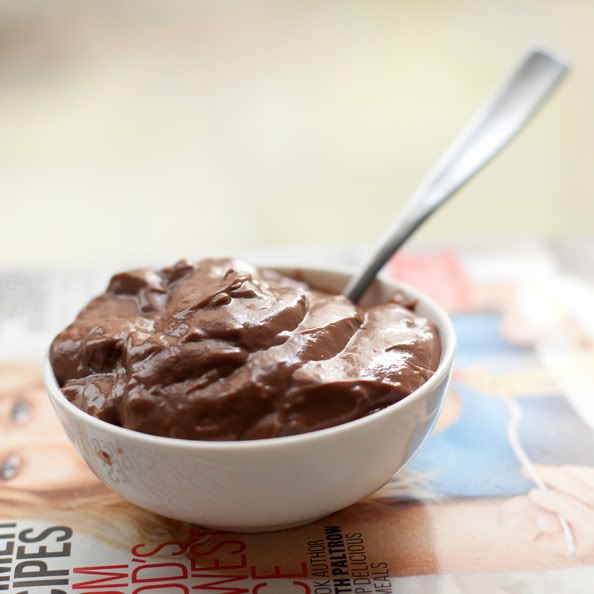
Remember those little plastic Jell-O cups full of cold, creamy pudding you used to eat as a kid? Of course you do. How could anyone forget how great it felt to dive into one of those things after a full day of bike-riding, monkey-barring, fortress-building play? No matter how many fancy pants desserts I eat at various restaurants (and I eat a lot), sometimes I just want chocolate pudding. There's something sweet and nostalgic about old-fashioned sweets like pudding (hence the popularity of shops like Billy's Bakery and Magnolia).

This milk chocolate pudding is about the easiest one-pot dessert you will ever make and it comes out tasting like everything you remember about those little plastic cups with the peel-off foil tops from your childhood. Except better. Way, way better. It's the adult version made with excellent chocolate, rich organic cream, and good milk. Recipe down below. Photos by Mark Iantosca.


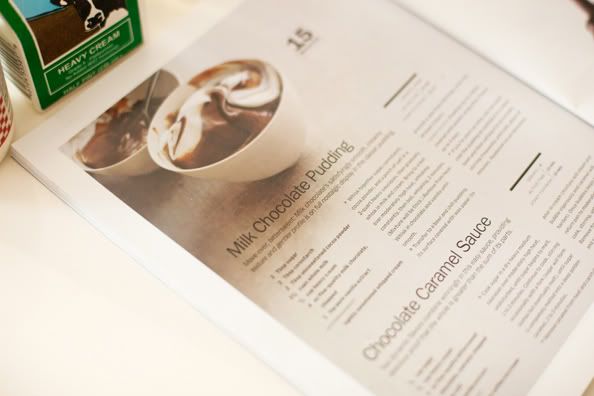
Milk Chocolate Pudding
From Gourmet magazine, February 2007
Ingredients:
2 tablespoons sugar
2 tablespoons cornstarch
2 tablespoons unsweetened cocoa powder
1 1/2 cups whole milk
1/2 cup heavy cream
4 ounces fine-quality milk chocolate, chopped
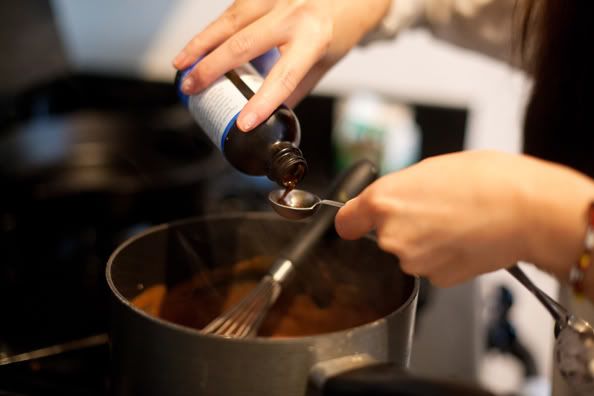
1 teaspoon pure vanilla extract

Directions:

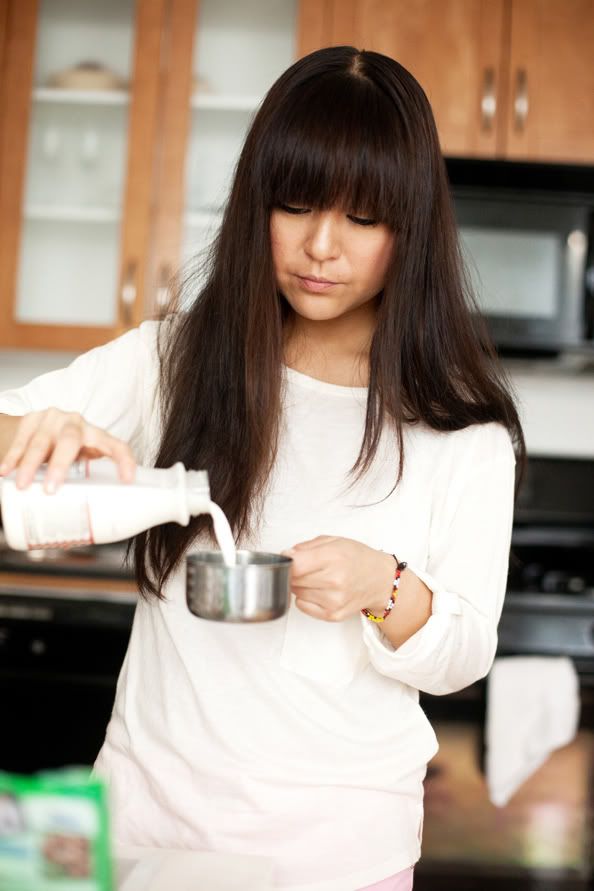
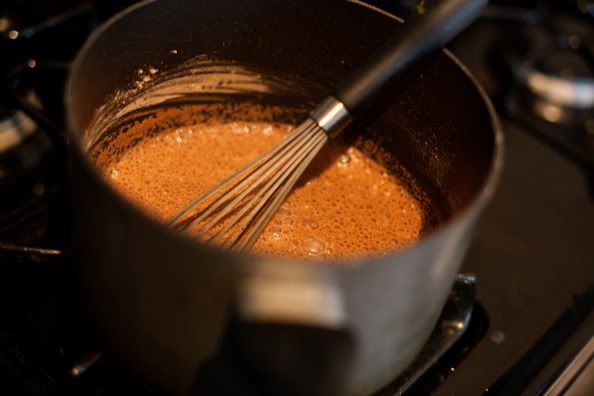
Whisk together sugar, cornstarch, cocoa powder, and a pinch of salt in a 2-quart heavy saucepan, then gradually whisk in milk and cream. Bring to a boil over moderately high heat, whisking constantly, then boil, whisking, 2 minutes. (Mixture will be thick.) Remove from heat. Whisk in chocolate and vanilla until smooth. 

Transfer to a bowl and chill pudding, its surface covered with wax paper (to prevent a skin from forming), until cold, at least 2 hours

Friday, November 11, 2011

Chocolate Pie


Old-fashioned chocolate pie (famously seen in The Help) is one of my all-time favorite desserts. Luckily, it also happens to be one of the easiest things to make, and with Thanksgiving just around the corner, we all need a dessert trick up our collective sleeve, don't we? This version comes from my new favorite cookbook, The Homesick Texan, by Lisa Fain, the writer behind the very popular blog of the same name. I love it when talented bloggers get book deals that result in beautiful additions to my collection. It's her grandmother's recipe, and it's delicious. xo


Chocolate Pie
Adapted from The Homesick Texan, by Lisa Fain
Ingredients:
Filling ingredients:
4 tablespoons of cocoa or 1 1/2 squares of baking chocolate
3/4 cups of sugar
5 tablespoons of flour
1/4 teaspoon of salt
1 1/2 cups of milk
1/2 teaspoon of vanilla
2 egg yolks, beaten slightly
1 tablespoon of butter

Meringue ingredients:
2 egg whites
1/8 teaspoon of salt
4 tablespoons of sugar


Crust ingredients:
2 cups of flour
1 tsp salt
1/2 cup canola oil
1/4 cup milk

Directions:
Make the crust: Preheat oven to 350 degrees. Thoroughly combine the flour and salt in a large bowl. Mix oil and milk. Pour oil and milk into flour and salt and stir until combined into a dough. You can add more milk if dry. Roll dough into a ball and the press into a pie pan, crimping the edges with a fork or your fingers for decoration. Do this firmly and confidently for the best results. Place in your hot oven for about 20 minutes, or until lightly browned.

In the meantime, make your filling: Mix sugar, flour, salt, cocoa, eggs and milk together with a whisk.
Cook while stirring on medium until it bubbles and thickens, about 5 to 10 minutes. If it becomes lumpy, just beat out the lumps. (It will not get any thicker in the oven so cook until it's as thick as you want it.)


Remove from heat and stir in your vanilla and butter.
Make your meringue: Beat egg whites with salt and when they start to get fluffy add the sugar. Pour the chocolate custard into the baked pie shell and top with the beaten egg whites. Bake it until the peaks on the meringue are lightly browned, about 10 minutes. Enjoy!