RECIPES AND MORE FROM AN URBAN KITCHEN

Sunday, December 14, 2014

Everything Bagels


One of the best things about living in NYC is the luxuriously easy access to the best carb-form in the known world: the New York bagel. It's legends are many, it's followers are loyal--and all for good reason. There's nothing quite like waking up late on a Sunday morning, and making a bagel run in the crisp morning sun to your local shop, steaming cup of coffee in hand. A few givens: the lines will be long, your fellow bagel devotees will be half-asleep, some still in varying forms of sleepwear, and the caffeine-fueled guys behind the counter will yell loudly the entire time you're in there. You'll be rung up brusquely, thrown some change, which you'll throw right back into the tips jar, and out you'll go, clutching a precious brown paper bag full of doughy-on-the-inside-crunchy-on-the-outside bagels filled to the brim with luscious cream cheese (and you better not let me hear you ask for low-fat, or some other such nonsense). You'll get back home and maybe you'll have someone waiting there for you with whom to share your bounty over the weekend papers, but even if you don't, that's okay, because it's Sunday, and the whole day stretches lazily ahead with no end in sight, and you don't really need to get dressed or do your make-up today, and the floor can be covered with newspaper sections, and you've got one perfect bagel in hand.

My love affair with bagels has no bounds, if you can't already tell. Which is why I decided to venture into making my own, only to quickly discover that not only is it easier than it sounds, but that the whole Sunday morning bagel shop ritual I just waxed poetic about for far too long doesn't hold a candle to producing your own batch of beautiful, shiny bagels, to be eaten immediately, minutes out of the oven, covered in slathers of cream cheese sprinkled high with fresh chives you've just sliced yourself. It's a long-but-not-too-long, pleasing process that won't unduly stress you out, I promise. And the end result is more than worth it. Recipe below. xo
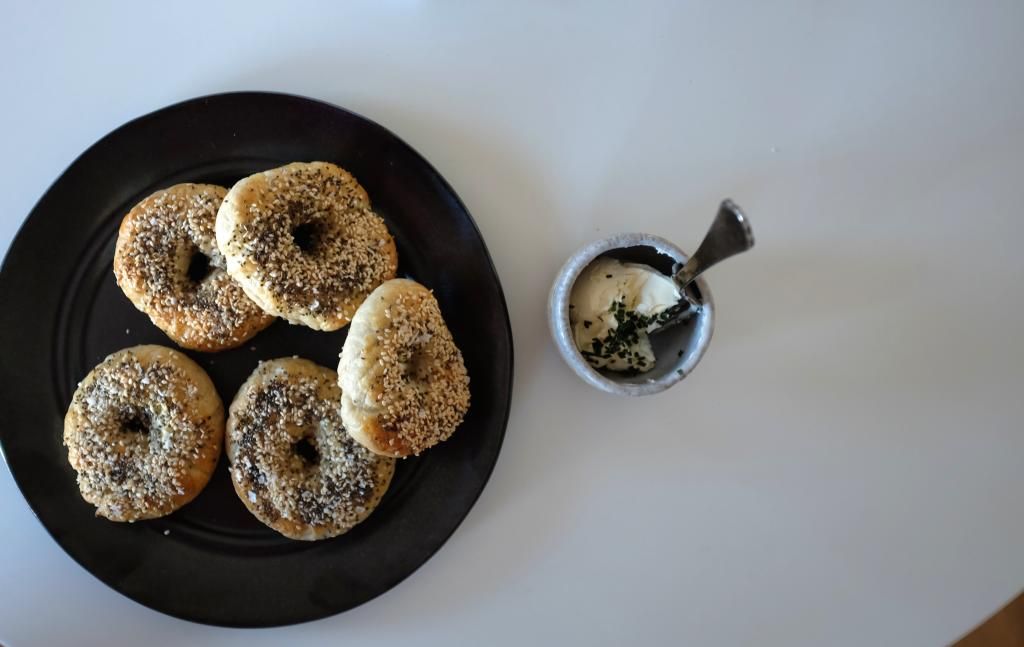
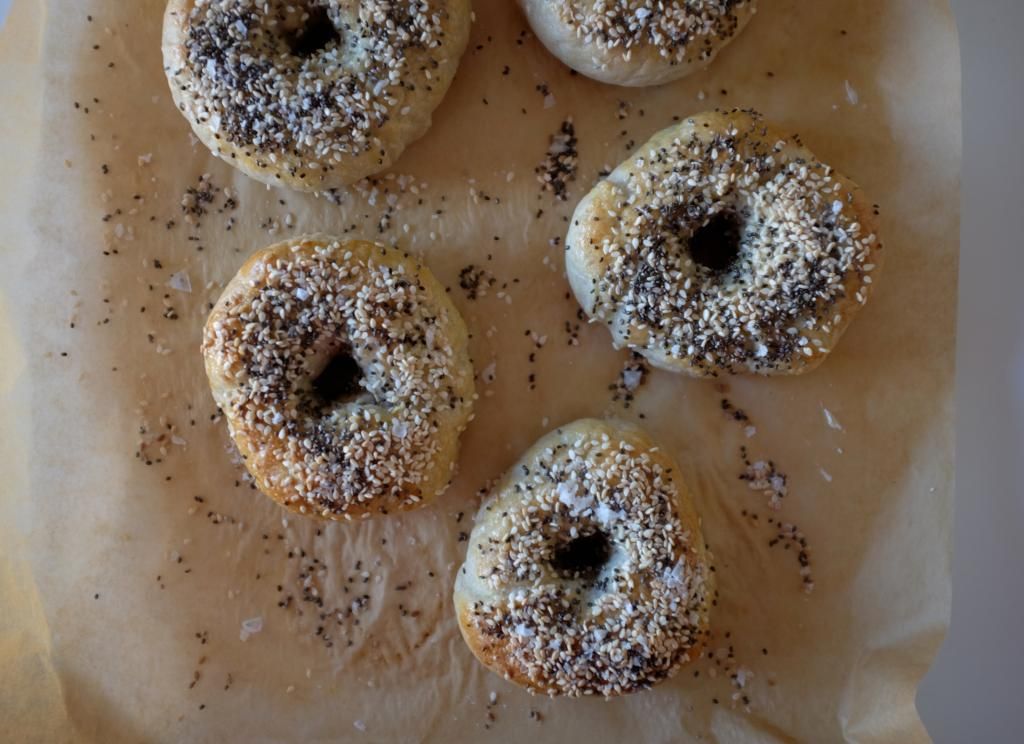

Everything Bagels
From Sunday Suppers, by Karen Mordechai
Ingredients:
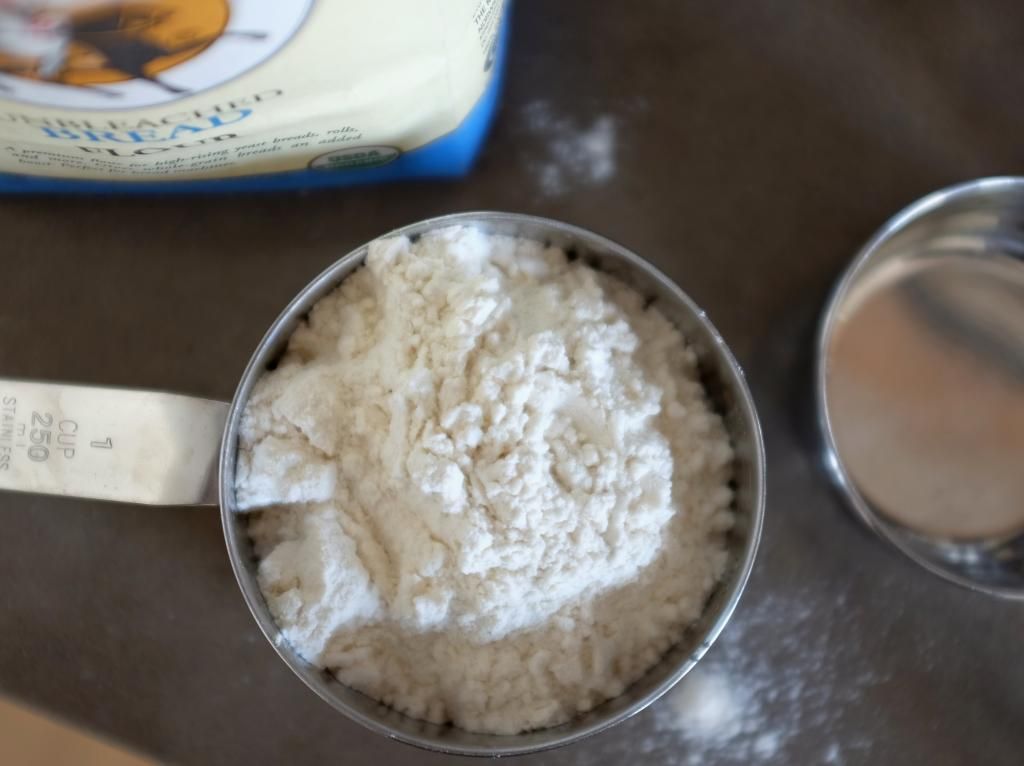
3 1/2 cups bread flour, plus extra for dusting
2 teaspoons sugar
2 1/4 teaspoons active dry yeast
2 teaspoons kosher salt
1 1/3 cups warm water (about 105 F)
Vegetable oil, for the bowl
1 egg yolk
1 teaspoon water
1 tablespoon sesame seeds
1 teaspoon poppy seeds
1 teaspoon rock salt or coarse sea salt

Directions:
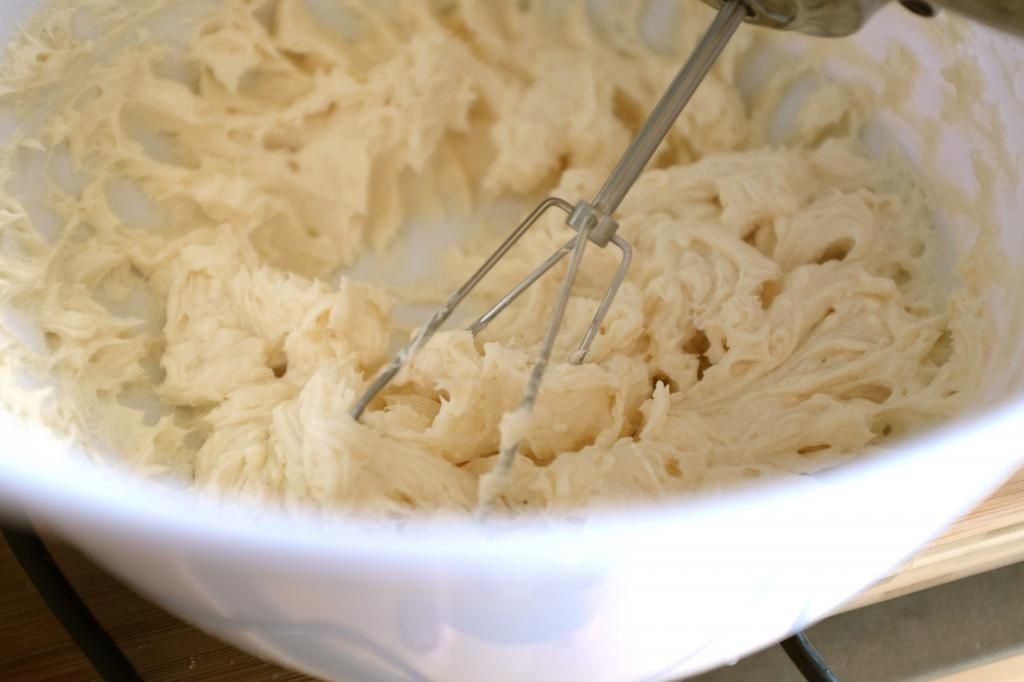
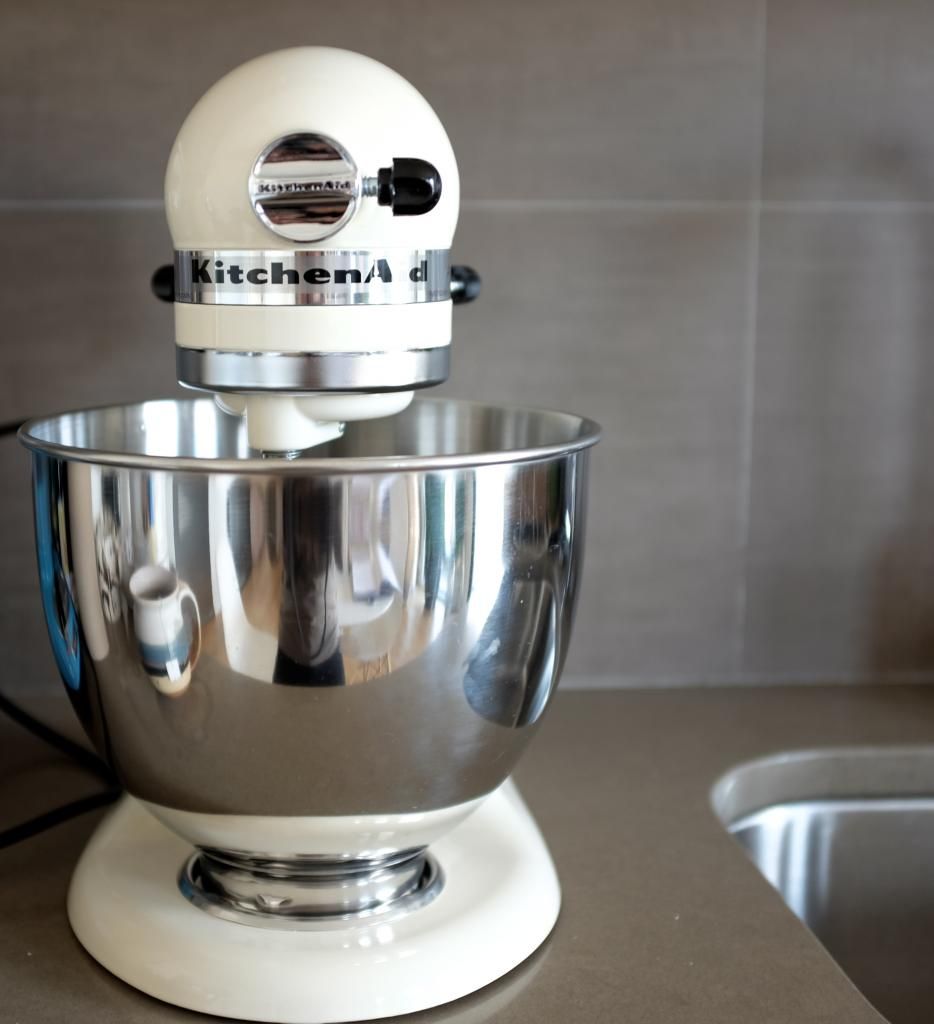
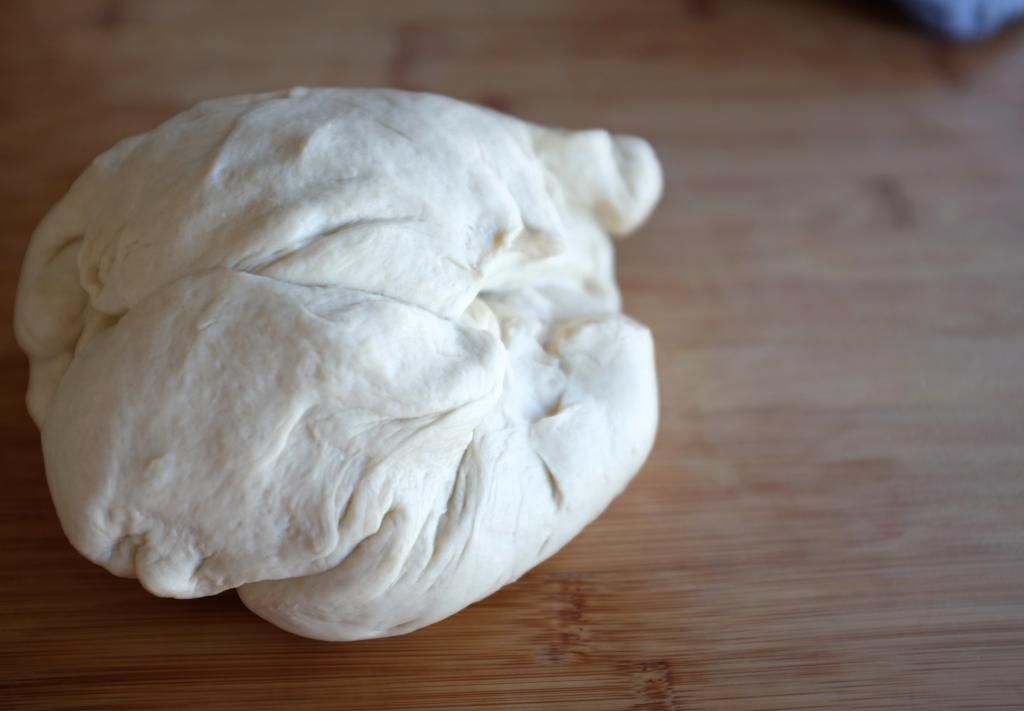
In the bowl of a stand mixer fitted with the dough hook, combine the flour, sugar, yeast, and kosher salt. With the mixer on low speed, slowly add the warm water. Continue to mix until the dough comes together, 4 to 6 minutes. Increase the speed to medium-high and knead for 8 to 10 minutes, until the dough is soft and smooth. Oil a large bowl, add the dough, and cover with a towel. Let the dough rise in a warm place until doubled in size, about 1 hour. Gently punch down the dough and let rest for 10 minutes. Preheat the oven to 425°F. Line a baking sheet with parchment paper. Bring a large pot of water to a boil, and then reduce to a simmer.

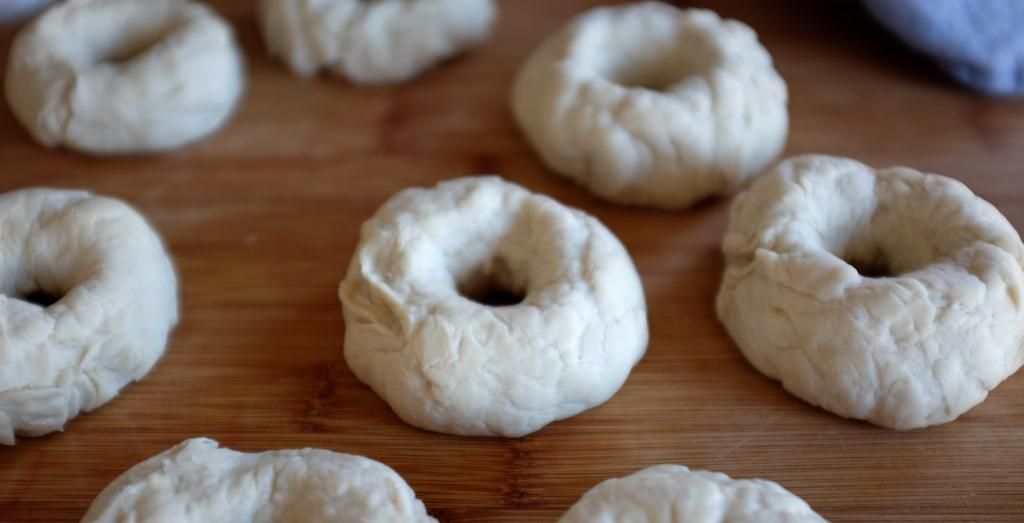
Divide the dough into 12 pieces. Press each piece to get rid of any air bubbles. Form them into smooth balls by rolling and rotating each one between your palms. Coat a finger with flour and press it through each ball to form a ring, stretching the dough and widening the hole to about one-third of the bagel’s diameter. Place the bagels on the prepared baking sheet and cover with a towel. Let rest for 10 minutes. (If the bagels begin to dry out, spray them with a bit of water.)

Bring the water back to a full boil and gently lower the bagels, 2 or 3 at a time, into the water. Boil uncovered for about 1 minute. Flip and boil for another minute. Remove the bagels, drain, and return to the baking sheet.

Whisk the egg yolk with the 1 teaspoon water to create an egg wash. Using a pastry brush, coat the tops of the bagels with the egg wash. Sprinkle with the sesame seeds, poppy seeds, and rock salt. Bake for 15 minutes or until golden.

Transfer to a wire rack to cool completely.

Makes a dozen small bagels.

Sunday, November 16, 2014

Insta Cookbook Club Giveaway


Happy Sunday! I'm giving away one of my absolute favorite cookbooks of the year, Huckleberry, by Zoe Nathan. I've been cooking and baking my way through it over the last month or so, and every recipe has been spot-on, one of the best being a blueberry cornmeal cake that just melts in your mouth. So good. Here's how to enter:

1. Go to my Instagram feed and follow here: http://instagram.com/carolhan
2. Find the picture you see in this post, and tag a friend you'd like to cook with in the comments.

That's it! I'll be picking a winner out of a hat next week and sending copies for you both. USA residents only, for now. xx

Wednesday, November 12, 2014

Favorite Green Juice


Remember the days when veggies were consumed via chewing and swallowing? Yeah, me either, and I thank the heavens every day that I can now get my greens in via delicious juices. Having been a stubborn meat-and-potatoes girl all throughout my childhood, the daily dose of green has always been a bit of a struggle for me. But with the relatively new advent of juicing, and fantastic combinations like kale + apple + ginger, vegetables are now something I actually crave. And what's even more remarkable is that when I throw back a mid-afternoon juice, I immediately feel noticeably peppier and happier. It's like coffee, but good for you!

I've recently taken to experimenting with juicing at home in the mornings so that I can always start my day off with an alkalizing shot of green (and so I don't go completely broke shelling out $12/juice from my beloved Juice Press). This is my favorite blend so far. xx

Favorite Green Juice
Serves 1
Ingredients:
3 kale leaves
1/2 apple
1/2 large cucumber
1 medium-sized knob of ginger, peeled
Juice of 1/2 lemon
1 tablespoon extra-virgin olive oil
Sprinkling of unsweetened, shredded coconut

Directions:
Core the apple, place all ingredients in a blender and liquefy on high speed. Strain the juice into a bowl through a fine mesh sieve, pressing firmly on all the pulp until every last bit of liquid is squeezed out. Pour into a glass and top with coconut.

Wednesday, November 5, 2014

Quinoa Granola


As someone who owns a company with employees and lots of clients, my entire day is basically spent making hard and fast decisions, and essentially crossing my fingers that by 6 PM-ish, my batting average will be decent, and the good calls will, in some small way, outweigh the face-in-palm-give-me-a-tequila-shot moments. And it all begins the second I wake up. Will I spring out of bed lustily, grabbing the day by the horns? Or will I close my eyes for just a few more minutes of precious sleep? Is it going to be a leisurely morning filled with homemade egg whites and French press coffee? Or am I going to be doing a mad sprint into the nearest Starbucks and grabbing some sort of mystery pastry encased in plastic wrap? A 5-mile sunrise run followed by a green juice? Or a lazy cab to work followed by a breakfast sandwich? (JK GUYS, IT'S ALWAYS A LAZY CAB TO WORK.)

During those insane weeks when it seems like no matter how early I get up, I'm still behind from the get-go (oh, hello, first week of November), having a healthy breakfast at the ready can make all the difference. I whipped up a batch of this delicious, crunchy, quinoa granola on Sunday, in anticipation of the forthcoming days of nonstop meetings, new clients, and general insanity, and it's been a lifesaver. It's stocked with so many good things that will fill you up with energy--chia seeds, flaxseeds, almonds, walnuts, quinoa, gluten-free oats, some dried fruit, and more. Just throw some on top of a few scoops of soya yogurt and you've got a yummy start to the day that also happens to be totally gluten-free and dairy-free (for those of you who are into such things). xo


Quinoa Granola
Makes about 6 cups
Ingredients:
2 cups gluten-free whole oats
1/3 cup pre-rinsed, uncooked quinoa
1/2 cup raw walnuts, coarsely chopped
1/3 cup raw almonds, slivered or chopped
1/3 cup raw pumpkin seeds
1/4 cup chia seeds
1/4 cup flaxseeds
1/3 cup unsweetened coconut flakes
1/3 cup dried cranberries
1/3 cup cacao powder
1 teaspoon Maldon sea salt (or any coarse salt)
1/3 cup coconut oil
1/3 cup grade B maple syrup
A dash of cinnamon
A dash of nutmeg

Directions:
Preheat your oven to 225 degrees.

Mix all dry ingredients in a big mixing bowl. In a small saucepan, over very low heat, combine oil and syrup. You only need to get it to a temperature that just melts the coconut oil to liquid form, then turn it off right away. Pour your syrup/oil into the mixing bowl with all dry ingredients, then stir it all up until everything is coated and there are no more dry oats.

Spread the mix onto a baking pan or cookie sheet covered in parchment paper. Flatten it out so it's even; it should take up the whole sheet. Bake for 60 minutes.

Let cool completely. Once cool, lift the ends of the parchment and let it crumble to the center, then pour everything into an airtight jar.

Store in the fridge to maintain the crunch!

Wednesday, October 29, 2014

Fall Roast


I've always held a very special place in my heart for London. It was the first European city I ever set foot in way back when, and since then, I've returned again and again, falling a bit more in love with it each and every time. There are, after all, so many things to love: the moodiness of the seemingly perpetual grey skies, followed by the sharp surge of gladness that comes with an unexpected cerulean-sky-streaming-sunlight day; the parks that either sprawl in every which way with ramshackle rolling green lawns and trees, or tidy up nicely in uniform English gardens; the friendly pubs with floors covered in soft, threadbare rugs and filled with the sounds of cozy conversation; the pies and curries and roasts; the obsessive tea-drinking. It all adds up to a whole that soothes me into a happy little state of mind that the chaos of NYC can never quite manage.

I'm lucky enough to get there several times a year for work, and at least a couple of times in the fall. It's the best season for lots of reasons, one of which is the weekend tradition of roasts that feels just right for the crisp, cool days of October when I start to slide readily into my easy autumn uniform of jeans and Ralph Lauren cashmere cable knits, occasionally topped off with an old, favorite, hunter green Barbour jacket lined in plaid. Preppy for fall, bohemian and free-wheeling for summer--doesn't it just feel right?

The Sunday roast is really one of the best things in life, in my opinion, and a comforting tradition that everyone could benefit from adopting/stealing. Here's the latest version to come out of my little Brooklyn kitchen, taken from the beautiful, new Fat Radish cookbook. It's composed of a perfectly roasted bird with leeks, and a bubbling, crisp serving of cauliflower cheese, which is something you should make immediately if you've never had it. It's like mac and cheese minus the carbs, but no less delicious. In other words, it's something of a miracle.


Roast Chicken with Leeks
Serves 8
Ingredients:
8 large leeks, cut in half crosswise, thoroughly washed
Extra virgin olive oil
Coarse salt
2 (3-4 pound) organic chickens, trussed
2 tablespoons roughly chopped fresh rosemary

Directions:
Preheat oven to 400 degrees F.

Place the leeks in a large roasting dish, drizzle them with 1/4 cup of olive oil, and sprinkle generously with salt. Rub everything around with your hands. Cover the dish with aluminum foil and roast until the leeks are beginning to soften, about 15 minutes.

Uncover the dish and then place the chickens on top of the leeks. Pour 2 tablespoons of olive oil over each chicken, sprinkle aggressively with salt and the rosemary, and rub it in with your hands. Pour 1/4 cup of water into the baking dish, and place it in the oven. Roast until the leeks are well browned and the chickens are cooked through, about an hour. Remove the chickens and leeks from the oven and let them rest at least 10 minutes before carving and serving.


Cauliflower Cheese
Serves 8
Ingredients:
2 heads cauliflower (2 1/4 lbs in total), broken into small florets
4 tablespoons butter
4 tablespoons flour
2 cups milk
2 cups coarsely grated cheddar or fontina cheese
A few drops of your favorite hot sauce
Coarse salt and freshly ground black pepper

Directions:
Preheat the broiler.

Bring a large pot of water to a boil and add the cauliflower. Cook until just tender, about 15 minutes. Drain the cauliflower, shaking it in the colander a few times to really get all the excess water out. Place the cauliflower in a 9"x13" baking dish and set it aside.

Meanwhile, place the butter in a saucepan set over medium heat. Once it melts, stir in the flour and cook until the mixture turns barely light brown and smells nutty, 5 minutes. While whisking, slowly pour in the milk. Bring the mixture to a boil, lower the heat, and cook until a thick sauce forms, about 5 minutes. Stir in 1 1/2 cups of the cheese until melted, and season the sauce to taste with hot sauce, salt, and pepper.

Pour the cheese sauce over the cauliflower and sprinkle the remaining 1/2 cup of cheese over the top of the dish. Place the dish under the broiler and cook until the cheese is melted and browned and the sauce is bubbling, about 5 minutes depending on the strength of your broiler. Serve hot.

Tuesday, October 21, 2014

Oscar de la Renta's Tomato Salad


A few years ago, I was thinking of writing a cookbook filled with the most cherished home recipes from a collection of my favorite designers. In the process of building a book proposal, I emailed a few of those designers, asking for their recipes to see what sorts of things I would end up with. Mr. de la Renta quickly sent over this beautiful recipe for a tomato salad from his kitchen in Punta Cana. It arrived in my inbox typed out exactly as you see it above, and I took to my kitchen to test it out. As was the case with everything he designed, it was perfect. 

I've made it every summer since then, and though the book never came to fruition, this special recipe gained a permanent place in my home, and has become part of many treasured warm-weather memories. I've never published it, although I've thought of doing so many times. I'm glad for that now, because today seems fitting. 

I am so saddened to hear of the passing of Mr. de la Renta, who was, and will continue to be, an absolute legend in my eyes.

Thursday, September 25, 2014

Gwyneth's Chocolate and Almond Cupcakes with Healthy Buttercream


If you've got an insistent sweet tooth like mine, but also try to be conscious of excessive refined sugar intake, this recipe's for you. Not a drop of dairy is used in the entire affair, it's low in gluten, and there's zero refined sugar. Sounds like a recipe for cardboard cupcakes, no? Trust me, it's not. I'm not going to pretend that these taste exactly like their sugar and dairy-laden counterparts, but that's not the point here. They've got a deliciousness that's all their own, minus the unhealthy bits. Perfect for those times when you want to have something sweet, while still being kind to that fab body of yours. xo

Chocolate + Almond Cupcakes
Ingredients:
1/4 cup roasted almond butter
2 cups white spelt flour
1 cup high-quality cocoa powder
1 1/2 tablespoons baking powder
A pinch of fine sea salt
1/2 cup Vegenaise or vegetable oil
1 1/4 cup good-quality maple syrup, divided
1/2 cup brown rice syrup
1/2 cup strong brewed coffee
1/2 cup soy milk or rice milk
1 tablespoon pure vanilla extract

Directions:
Preheat the oven to 350 degrees. Sift the flour, cocoa, baking powder, and salt together in a large mixing bowl. In a separate bowl, whisk together the Vegenaise of oil, the syrups, the coffee, the soy milk, and the vanilla. Mix the wet ingredients into the dry ones, being careful not to overbeat (that's how you end up with a tough cupcake!).

Combine 1/4 cup roasted almond butter and 1/4 cup of the maple syrup and set the mixture aside. Line a standard 12-cup muffin tin with paper liners. Fill each muffin cup halfway with the brownie batter. Evenly divide the almond butter-maple syrup mixture among the muffin cups and top with the remaining batter. Bake at 350 degrees for 25 minutes. Let cool completely. Decorate with the Healthy Buttercream (recipe below) and a scattering of edible flowers if that's your thing.

Healthy Buttercream
Ingredients:
2 cups Spectrum organic shortening
1 cup tapioca starch
1 cup agave nectar (or grade A light maple syrup)
1 tablespoon pure vanilla extract

Directions:
Place all the ingredients in the bowl of an electric mixer and beat with the whisk attachment until light and fluffy. The frosting can be refrigerated for up to a month, but bring it back to room temperature and rewhip it before using.


Tuesday, September 2, 2014

Kings of Summer


I flew into NYC last night in a haze of sweet summer memories, feeling completely angsty about getting back into the office in less than 24 hours. It was a good summer filled with beaches, new cities, crystal clear blue water, mountains, and totally reckless consumption of chocolate, cheese, and red meat. If I've ever had a better August, I certainly can't recall it.

Alas, it's back to reality, but it turns out that's not such a bad thing either. I've missed my Brooklyn apartment on the river and my fig trees, my light-filled office and my amazing employees, my friends and my yoga teachers, the energy and the discipline of New York. I think it's shaping up to be an amazing fall, and I can't wait to see what the new season has in store.

But before I let go completely, here's a last look back at some of my favorite iPhone snaps from the last couple of weeks. In no particular order, they're from Barcelona, Zurich, and Amsterdam. Hope everyone's "back to school" transition is going ever so smoothly today. xo


Thursday, August 28, 2014

Fall Uniform


After living in nothing but breezy floral dresses, tiny bikinis, my ripped denim Acne jacket, and flatform Marni sandals this summer, I'm finally feeling ready for a slightly more sophisticated dress code. Think perfect, dark basics with a classic, luxe watch and simple gold jewelry. And a crazy pink faux fur to go over it all, of course. Can't grow up too much. xo

*A faux fur to make you feel better about the end of summer by Shrimps
*Perfect black loafers by Newbark
*I've been eyeing this M2Malletier bag for ages. Time to bite the bullet.
*A classic Hermés watch--can't go wrong.
*Beautiful, well-made basics are necessary and Protagonist seems to get it right
*Faded black skinnies to throw on everyday.
*Just a piece or two of cool gold jewelry keeps it tasteful. Love this cage ring by Gabriela Artigas.

Thursday, August 21, 2014

Wanderers


August has been a complete whirlwind of European adventures, and one of the best months to date. We've spent long, warm, sunny days in Norway (both Stavanger and Oslo), France (Cannes, Monaco, and Antibes), and right here in beautiful Switzerland, doing some hiking, lake-lounging, and wandering through the magical forests and wide open fields that seem to be everywhere. It's hard to believe there's just over a week left of summer, which is extra motivation to soak in and really appreciate every precious second. I'll be back in NYC by Labor Day, but not before a couple of jaunts to Barcelona and Amsterdam to cap off this hectic, perfect season.

Here are some favorite iPhone snaps from the month. They're in this order, if anyone's curious: Monaco, Antibes (at the Hotel du Cap Eden Roc), Bern, Stavanger, Oslo, Zurich, and Mount Pilatus. xo