RECIPES AND MORE FROM AN URBAN KITCHEN

Friday, May 30, 2014

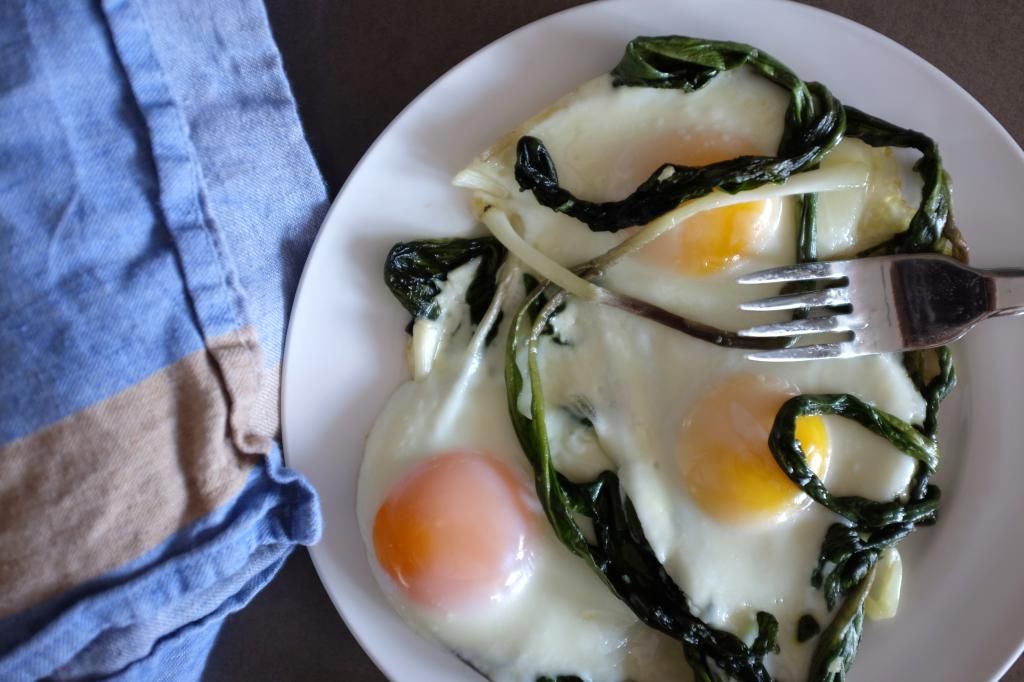
Eggs with Ramps


Last ramps recipe of the season to appear on this here blog (tear). But! It's a good one. Ramps are often best when prepared as simply as possible, as in this case where they are gently wilted in olive oil and then combined with super fresh organic eggs. Such a good, easy breakfast for spring. And speaking of seasons, can you guys believe that summer is on our proverbial doorsteps? Every time the weather warms up here in New York, I'm reminded that I'll always be a beach girl at heart. I trick myself into thinking I love winter (likely as a survival mechanism), but all my years growing up in Hawaii have ruined me for life, I suspect.

Ramps and Eggs
From Buvette: The Pleasure of Good Food, by Jody Williams
Ingredients:
3 tablespoons extra-virgin olive oil
1 small bunch ramps, root ends trimmed and discarded, thoroughly washed
Coarse salt
3 large eggs

Directions:
Preheat the oven to 400 degrees. Warm the olive oil in a medium skillet over medium-high heat. Add the ramps and a large pinch of salt. Cook, stirring occasionally, until the ramps just begin to soften, about 5 minutes.

Gently crack the eggs into the pan directly alongside the ramps and place the pan in the oven (alternatively, you can reduce the heat to low and cover the pan with a lid). Bake until the egg whites are just set and the yolk retains a bright yellow color, about 5 minutes. Serve immediately, sprinkled with additional salt.

Monday, May 19, 2014

Whole Wheat Pasta with Ramps and Spring Garlic


You know what's great for a Monday night dinner? A dish that takes a minimal amount of time and even less brain power to execute. Because who wants to deal with anything more on a Monday? The good news is that spring makes that kind of cooking a cinch. You've got such a wealth of already-delicious produce cropping up all around you (or at your nearest market), that it's kind of hard not to come up with something great. Case in point: pasta with ramps, which I have made for this second edition of my mini get-'em-before-they're-gone ramps series. Here, I've used really good whole wheat pasta, a heaping fistful of fresh ramps, a couple of bulbs of fresh spring garlic to really up that pungent allium vibe, and a dusting of Grana Padano cheese. If you're feeling bold, you could fry up an egg and throw it on top. Yum.

Whole Wheat Pasta with Ramps and Spring Garlic
Serves 4
Ingredients:
Coarse salt
1 pound dry whole wheat pasta
3 tablespoons extra-virgin olive oil
1 bunch fresh ramps, white root ends and green leafy tops separated
2 bulbs of spring garlic, peeled and thinly sliced
1 to 2 tablespoons crushed red pepper flakes
2 tablespoons dry breadcrumbs
Chunk of Grana Padano cheese for grating

Directions:
Bring 6 quarts of water to a boil in a large saucepan over high heat. Add 2 tablespoons salt and return to a boil. Add spaghetti and cook according to package directions, until tender but still al dente.

Heat olive oil in a 12-to-14-inch skillet over medium heat. Add root ends from ramps along with garlic slices to pan and cook, stirring, until tender. Season with red pepper flakes and salt. Add leafy greens from ramps and cook, stirring, until wilted.

Drain pasta and add to skillet. Toss gently to coat pasta with sauce. Divide pasta evenly between 4 warmed plates. Drizzle with olive oil, sprinkle with breadcrumbs, and grate a good helping of cheese on top. Serve immediately.

Wednesday, May 14, 2014

Ramp Ricotta Toasts


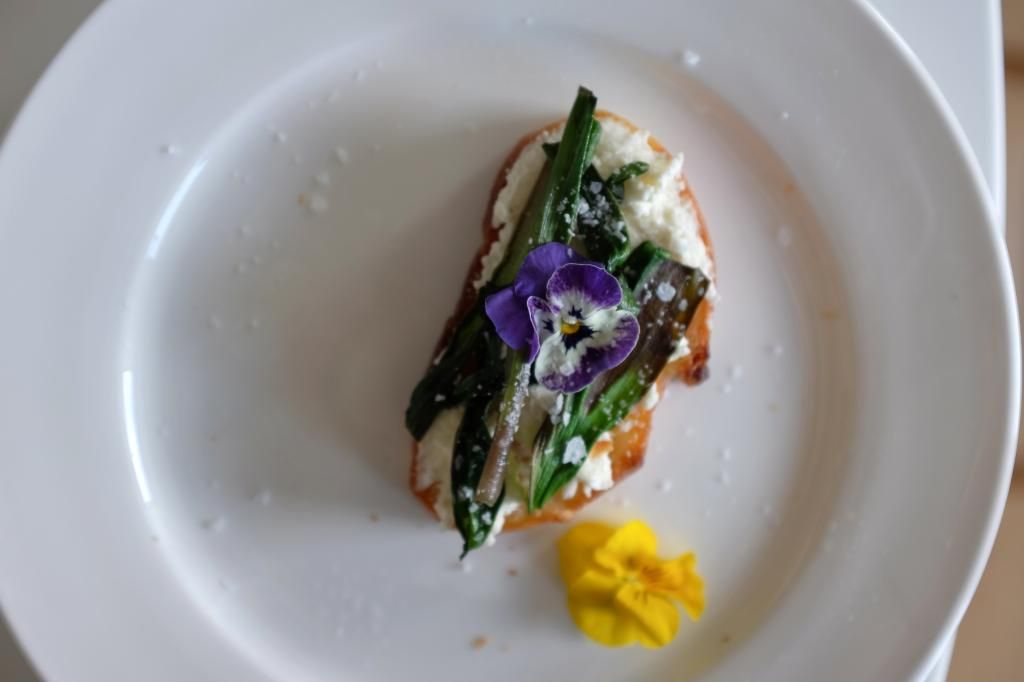
I'm officially declaring this the first in my Streak-of-Ramp-Recipes-Before-They're-All Gone posts. A couple of weekends ago, during one of the first truly sunny, warm Saturdays of the year, I got up at 7 AM, went for a long run from Williamsburg up to Greenpoint and back again, and then trotted (read: limped) over to the farmers' market in McCarren Park, in search of armfuls of spring produce. There, I found fat asparagus stalks, piles of edible flowers, wildflower honey, some of the overwintered broccoli rabe that I so love this time of year, and picked up a few pieces of Hot Bread Kitchen's m'smen bread to nibble on while I shopped too. And instead of feeling guilty about the carb overload, I patted myself firmly on the back for the skillful show of multitasking. I am very good at food justification. I consider this a talent.

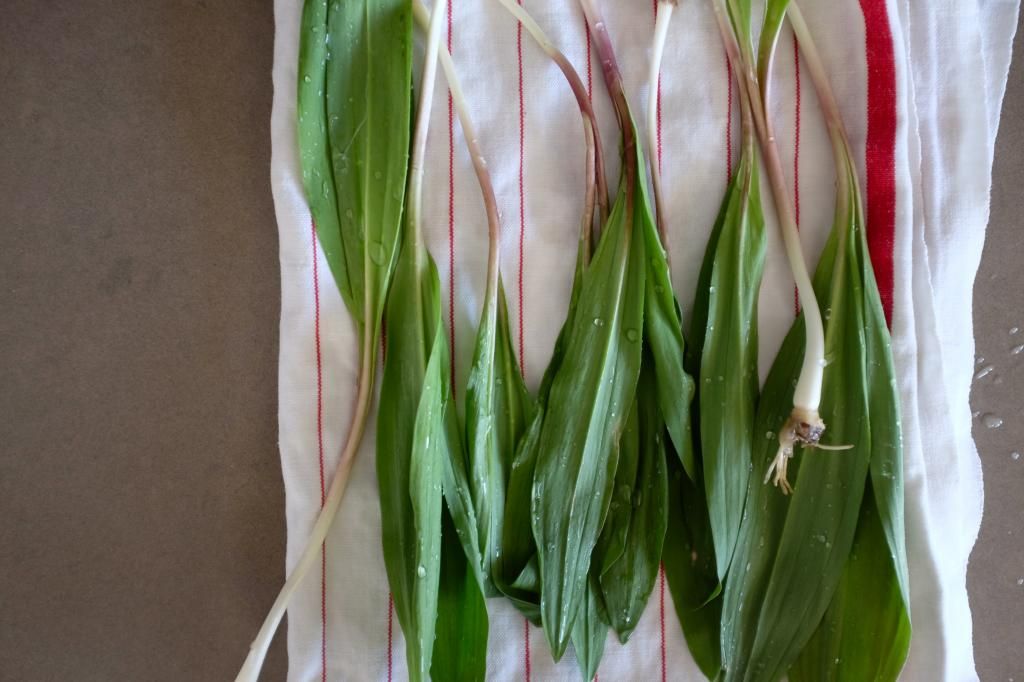
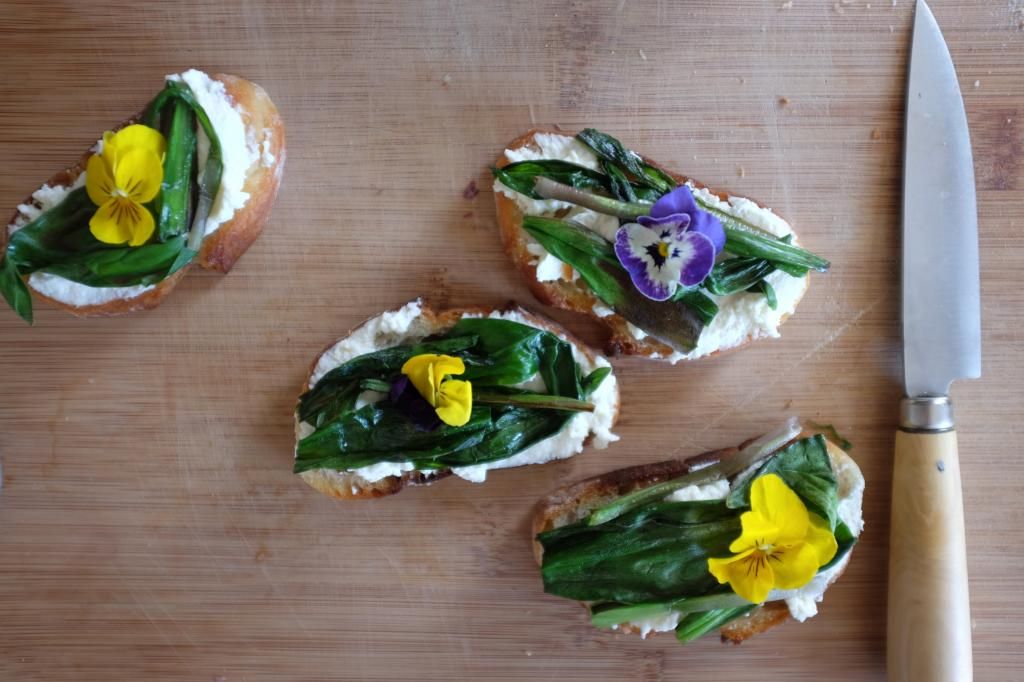
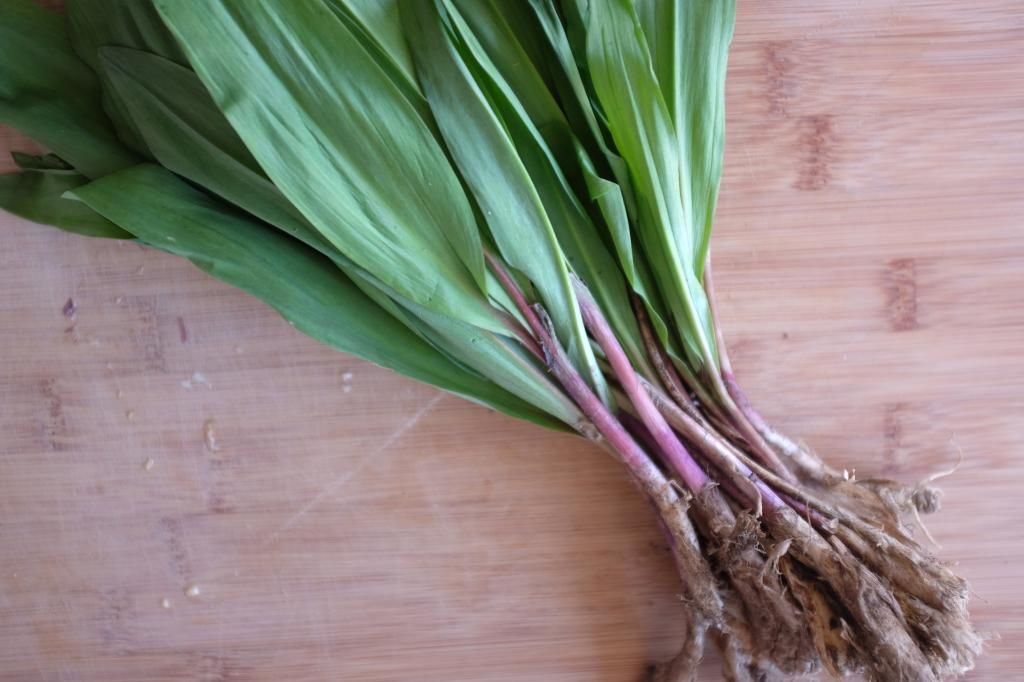
What was noticeably missing from all the green glory were ramps. And so, picking up a tip from a fellow shopper, I headed over to the Brooklyn Kitchen, where I found a stack of fresh, pungent ramps with lots of beautiful dirt still clinging to the roots. I grabbed two bunches, hightailed it home, then spent the rest of the weekend making various ramps dishes consecutively, finding nothing wrong with having ramps play a (major) part in every meal through Monday morning. The first little snack I assembled was this simple ricotta toast made by toasting rounds of good bread in extra-virgin olive oil, spreading them with fresh ricotta, and topping them with sauteed ramps, edible flowers, and a sprinkling of Maldon salt (saute the ramps by cleaning them thoroughly, chopping them up, throwing the stems in a hot pan with a glug of olive oil, and then following them up with the leaves after a few minutes once the stems are nice and tender--the leaves will only need about a minute to wilt deliciously). Perfect for a little spring gathering. xo


Thursday, May 8, 2014

Favorite Things: 05.08.14


All I've been dreaming about these past couple of weeks as the sun finally makes a serious commitment to us beleaguered East Coasters is getting to a beach and lounging about with norm-core slides and mermaid hair. Here are some favorite things jettisoning my fantasy into a soon-to-be reality. Click below to purchase. xo

First row:
-Bee Yummy Skin Food: miracle cream! I've been using this all organic bee pollen cream as a night cream for a few weeks now, and it is amazing. So natural, you could literally eat it. Plus, Cara Delevigne's a loyalist, and well. Look at the girl.
-Chip Hooper, Sundown, Hurricane Point
-Lisa Marie Fernandez's swimsuits are beyond flattering. Love this sporty, stark white bikini.

Second row:
-You know, just a pic of Doutzen looking fab.
-Isabel Marant's beach tunic hoodie thing is right up my alley.
-A net bag = necessary.

Third row:
-Perfect tortoise sunglasses.
-Aforementioned mermaid hair.
-Weird but awesome slides that will make your tan feet look great.


Tuesday, May 6, 2014

Steamed Artichokes with Homemade Dipping Mayonnaise


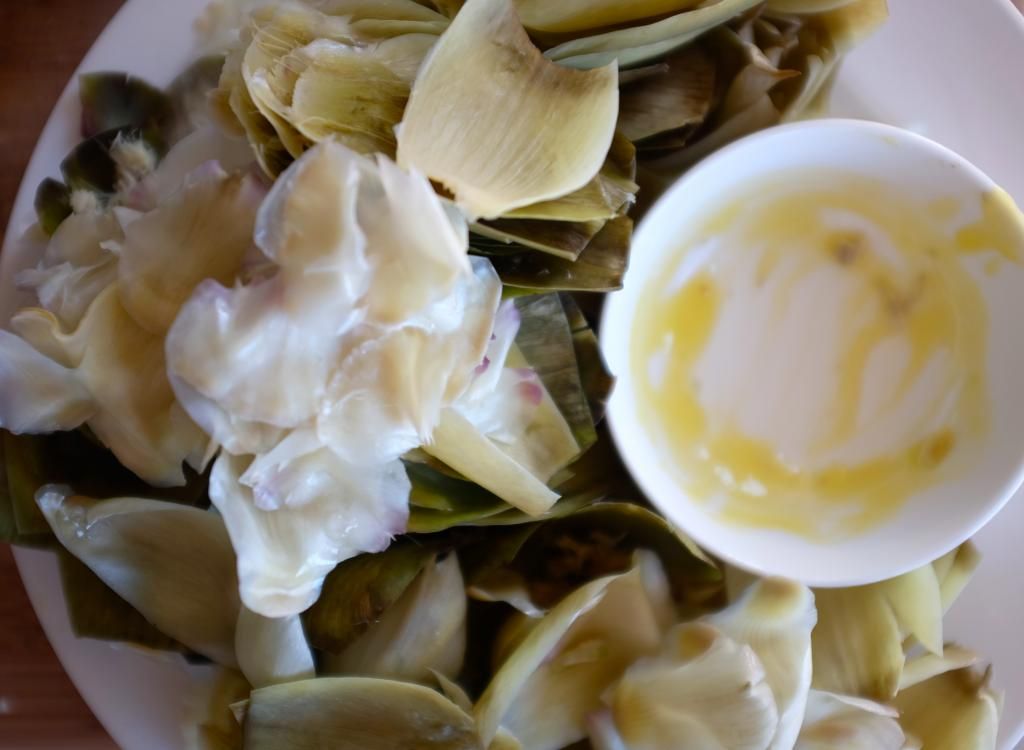
If you didn't grow up preparing and eating artichokes every spring, these layered, thick-leaved veggies can seem pretty mysterious. I mean, what other food do you eat in this manner? Gently peeling off one leaf after another, only to delicately scrape your front teeth across the inside hoping for the tiniest taste of what you're working towards: that elusive heart. The heart of the artichoke. That is some goal-driven eating, right there. But once you get to the center and take your first full-on bite (preferably covered in a creamy homemade mayo), you get what all the fuss is about. But if you're anything like me, you leave the cooking up to the pros, and steer clear of the piles of gorgeous artichoke specimens at the markets. Because, how do you cook such a thing, really? It always seemed a tad intimidating to me until about a month ago when my friend Scarlett of fork and flower set me right. On a trip to the farmers' market in Zurich, she made a beeline straight for the artichokes, and declared that she had lost count of all the artichoke recipes she had created for her blog over the years. She also declared that cooking the things was as varied and simple as could be. And, so, with those encouraging thoughts in my head, I embarked on two firsts: home-cooked artichokes and mayonnaise whisked together by hand. Both were astoundingly good.

If you've never made homemade mayonnaise, you need to remedy that the very next time you have a need for the stuff. It's a completely different animal than good old Hellman's and my personal store-bought favorite, Vegenaise. It's luscious and creamy and so very easy to put together. And it happens to be the perfect accompaniment to an artichoke, steamed or boiled on your stovetop for around 20 minutes. If you serve this combo to guests, it will appear much more impressive than it actually is, and it's weirdly satisfying to look upon the big piles of discarded leaves at the very end. Feels like a goal accomplished. Both recipes from Jody Williams' brilliant new book, Buvette: The Pleasure of Good Food. xo

Homemade Mayonnaise
Makes 1/2 cup
Ingredients:
1 large egg yolk
A squeeze of fresh lemon juice (about 1 teaspoon)
1 teaspoon water
Pinch coarse salt
6 or 7 tablespoons extra-virgin olive oil

Directions:
Whisk together the egg, lemon, water, and salt and then very, very slowly, whisk in the olive oil, just a few drops at a time at first, building up to a slow, steady stream. The mixture should be the color of a bright mustard and thick enough to hold itself together. This is precious stuff. Serve immediately or place in an airtight container and refrigerate for no more than 2 days.

Steamed or Boiled Artichokes
Serves 4
Ingredients:
4 large artichokes
Homemade mayonnaise (recipe above)

Directions:
Using a pair of scissors, trim the sharp thorn from the tip of each leaf on each artichoke. Using a serrated knife, remove 2 inches from the crown. If needed, trim the stem back so each artichoke can balance in a serving bowl or on a plate.

Place the artichokes in a steamer, cover, and cook until fork-tender, about 20 minutes. The artichokes may also be boiled in a large covered pot with ample salted water to cover them until done, about 20 minutes. Remove with a slotted spoon.

Serve the artichokes warm or chilled and enjoy with plenty of homemade mayonnaise. Dip each leaf into a bowl of the mayonnaise and scrape the flesh off the leaf with your teeth, creating a tall pile of spent leaves on a side plate as you go. When you reach the center of the artichoke, discard the fibrous choke and enjoy the delicious heart. Remember to provide extra plates for the discarded leaves.


Tuesday, April 29, 2014

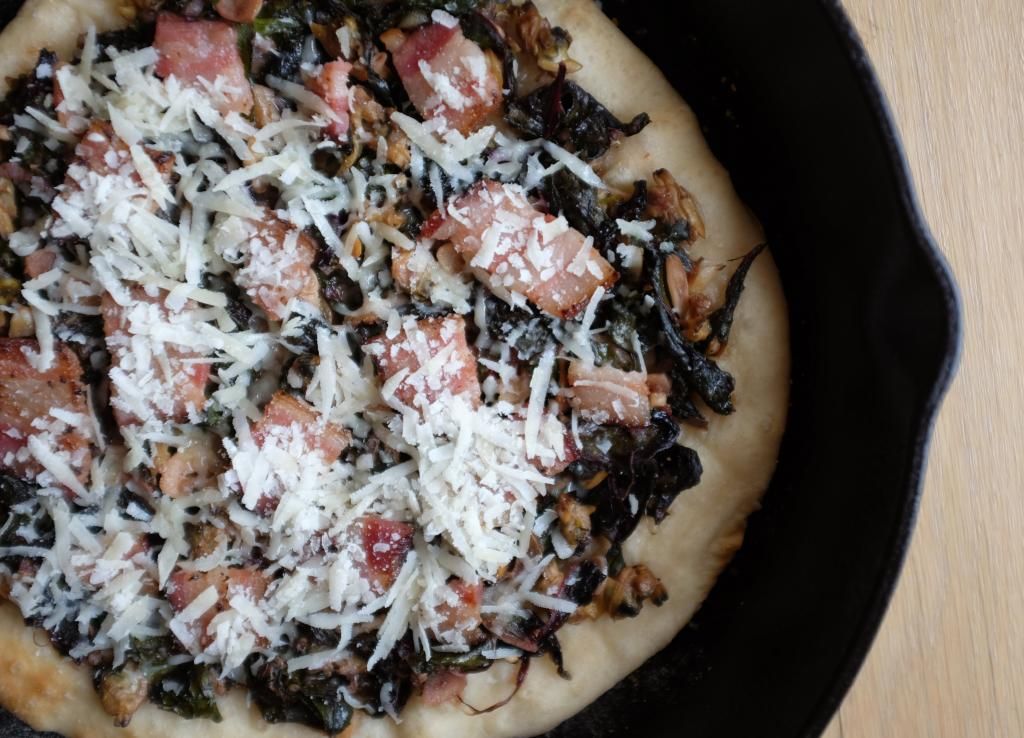
Clam, Chard, and Bacon Pizza


One of my main goals in life is to one day own a pizza oven. But not just any pizza oven. I want a big monster of a brick, wood-fired oven that sits smack dab in the middle of my backyard. The backyard that is but one beautiful component of the rest of my beautiful house. In said oven, I would also do things like roast perfect little chickens with charred skins, bake rustic loaves of bread, and make wood-fired shellfish. Yeah, I may need to move to California at some point in my life. Either that or realize my dream of buying a bucolic, airy beach house somewhere in Amagansett or the like. We shall see.

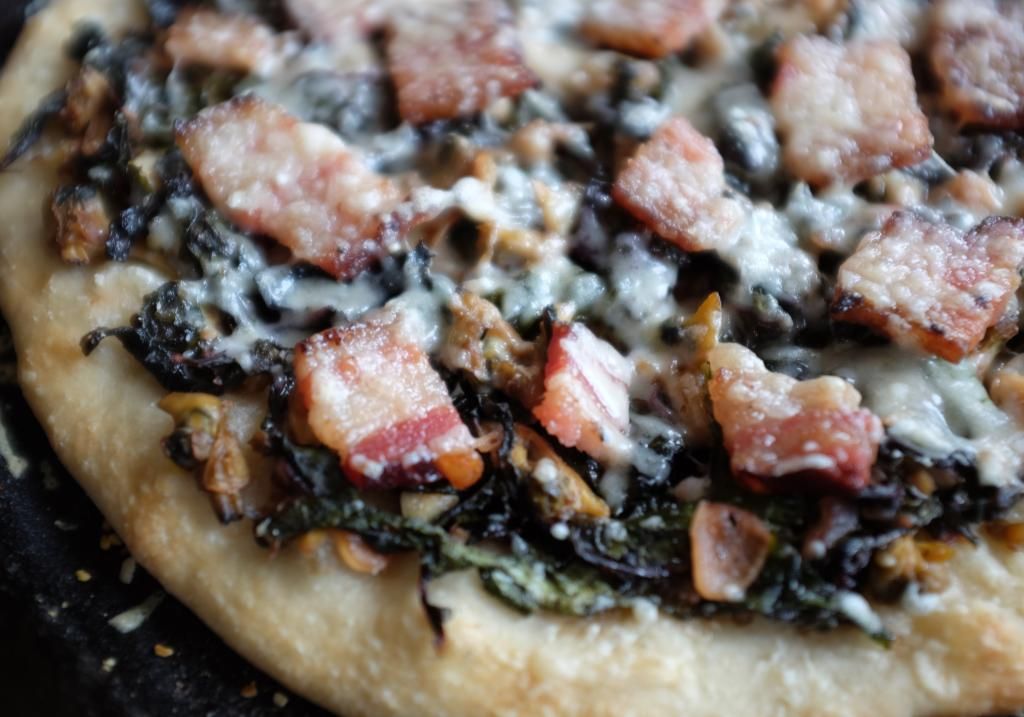
For now, my homemade pizza adventures are firmly tethered to the realities of my tiny little oven in Williamsburg, Brooklyn, and that's okay(ish). Although, my crusts will never be quite as impeccably blackened in spots as the ones that come out of the ovens at, say, Roberta's or Motorino, my little-oven-that-could does a good job at providing something different, but almost as good. And until I get my dream outdoor oven, I'm certainly not going to deprive myself of the joys of having friends over for a freshly baked homemade pizza. There's something great about setting up a little toppings station on your kitchen counter and watching people go to town coming up with their own special combos. Also, great: watching the excitement percolate as one amazing pizza after another comes out of the oven crisp and bubbling. Yum. This particular combo is one I came across on epicurious.com, and it's a good one, especially for these coming summer months. Because, clams. xo

Clam, Chard, and Bacon Pizza
From epicurious.com
Ingredients:
All-purpose flour (for dusting)
1 1-pound ball of pizza dough (I picked up mine from a great neighborhood pizzeria)
1 10-ounce can whole baby clams
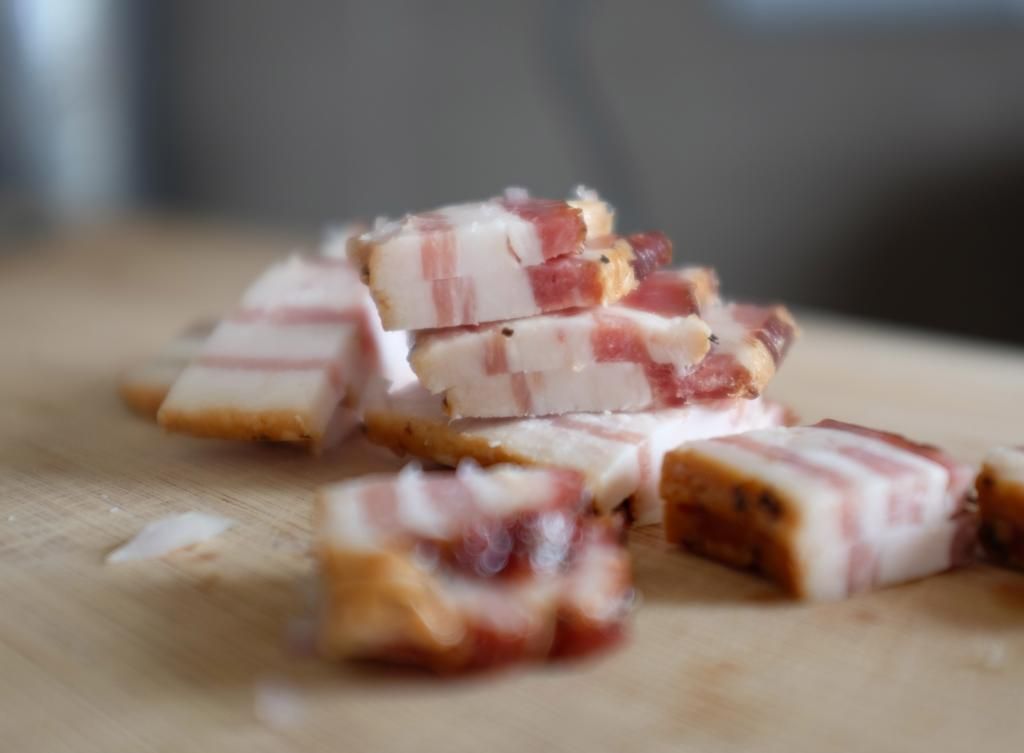
2 slices thick-cut bacon, cut into 1"-wide pieces
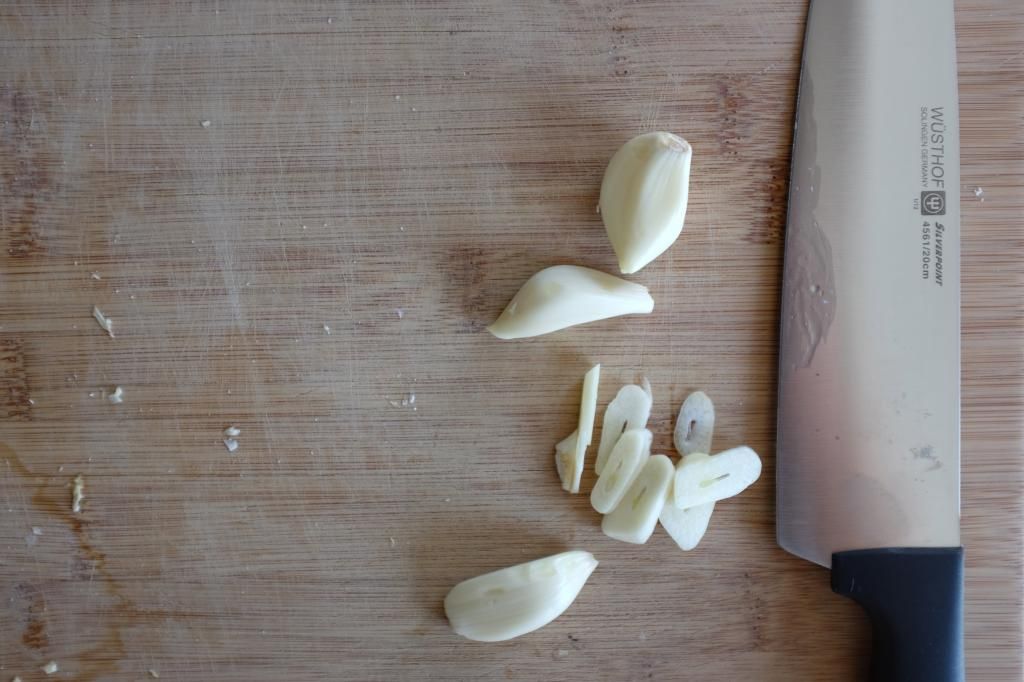
3 garlic cloves, thinly sliced
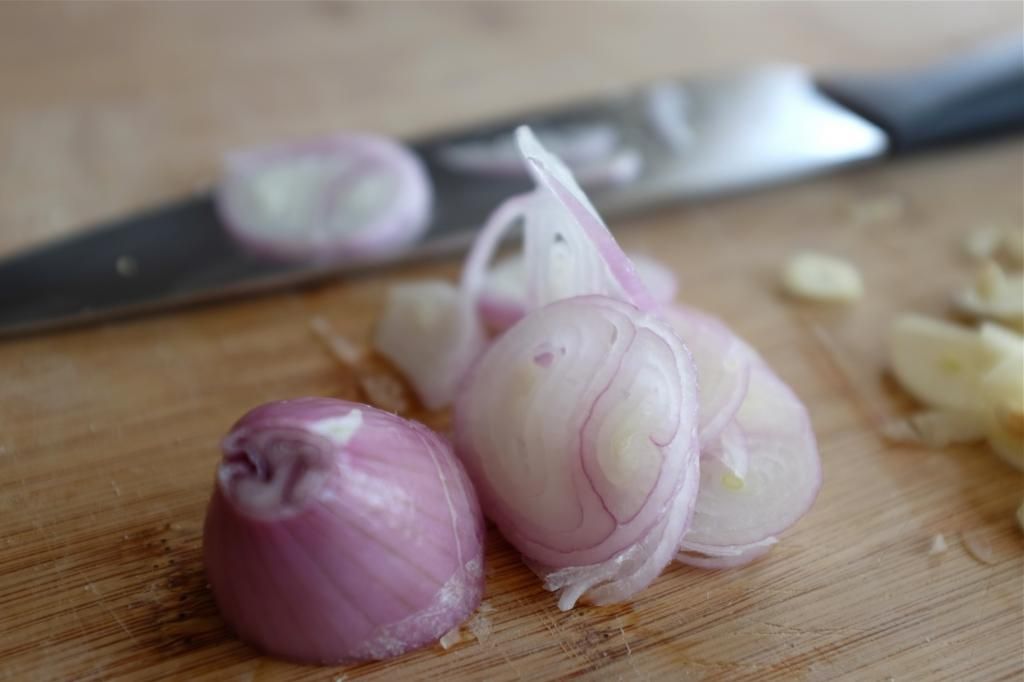
2 tablespoons minced shallot
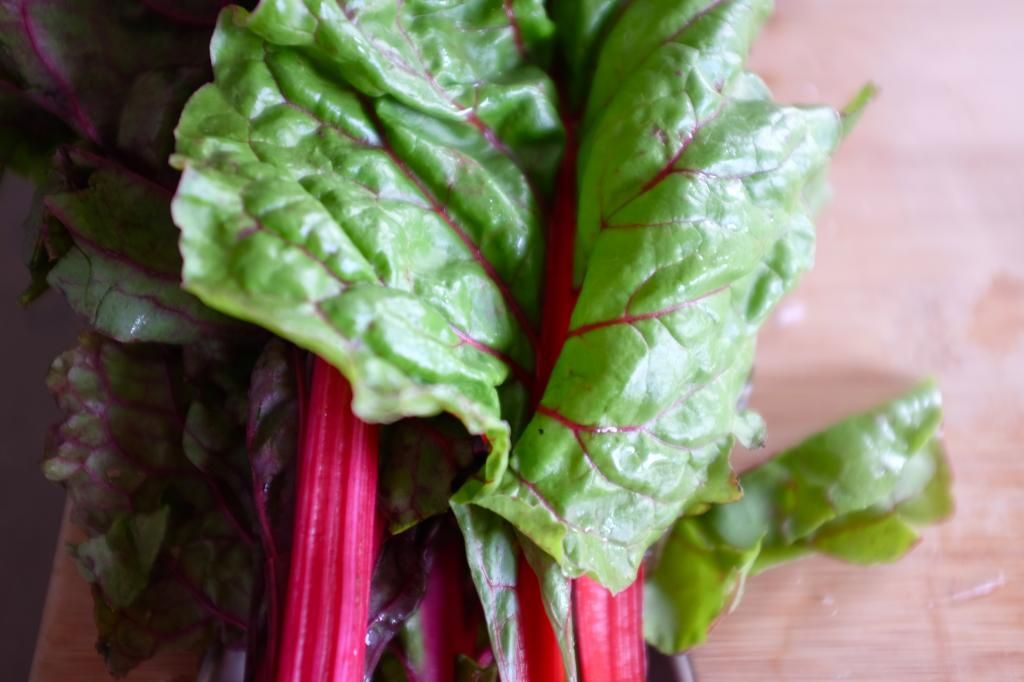
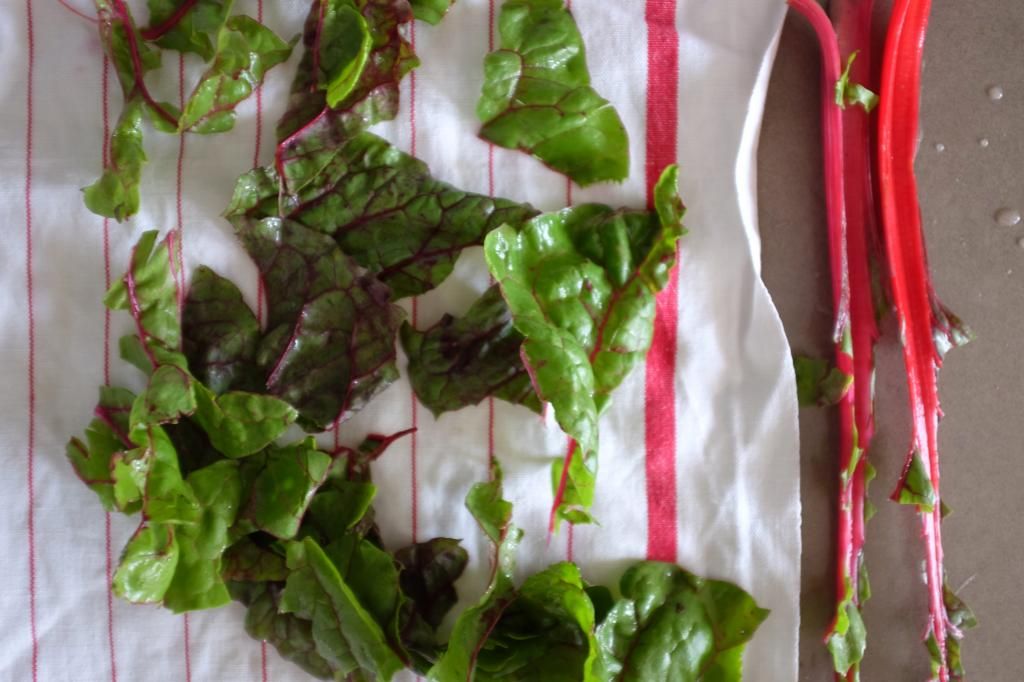
1 1-pound bunch Swiss chard, center stalks removed, leaves torn
Kosher salt and freshly ground black pepper
1 tablespoon unsalted butter, cut into 1/2" cubes
1 tablespoon white wine vinegar
1/2 teaspoon yellow cornmeal
1 tablespoon good-quality extra-virgin olive oil
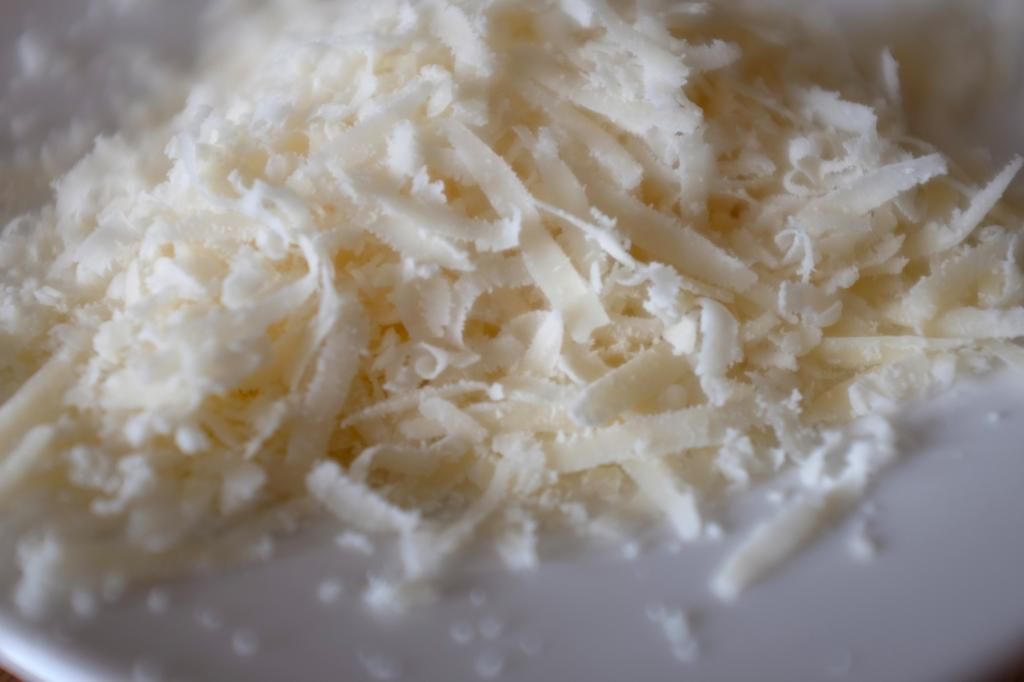
1/2 cup finely grated Parmesan

Directions:
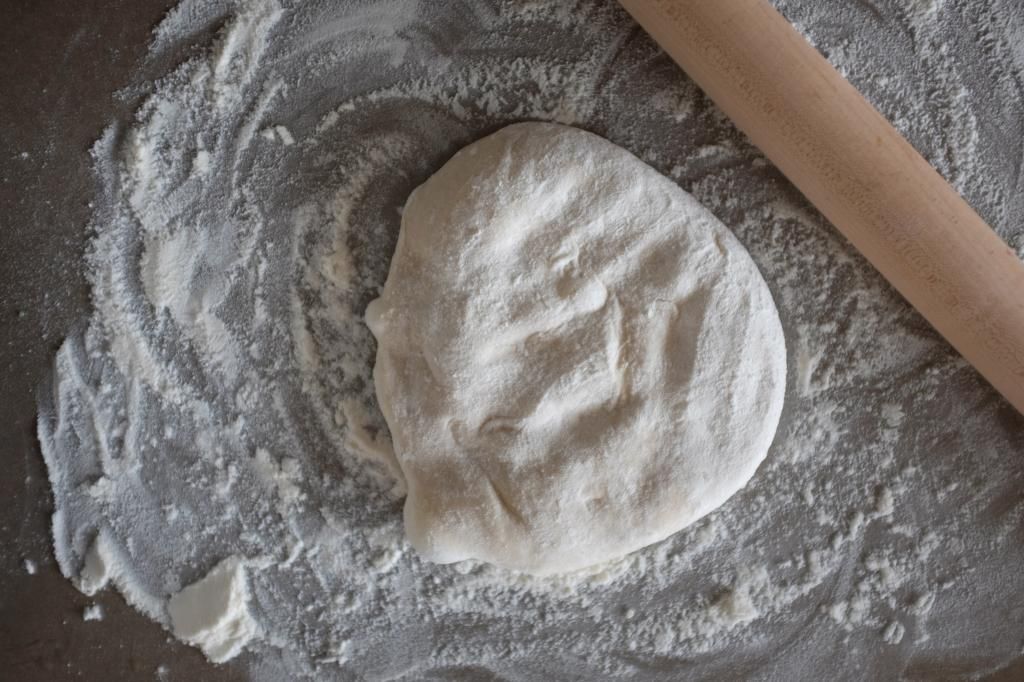
Preheat oven to 500°F. If your dough is frozen, do the following. If not, proceed to the next paragraph: Fill a large bowl with boiling water. Place a baking sheet over; dust with flour. Place dough on baking sheet; cover loosely with plastic wrap and let sit for 10 minutes to soften. Flip dough; cover and let sit 10 minutes longer.
Meanwhile, drain clams, reserving liquid. Cook bacon in a 12" cast-iron skillet over medium heat, stirring occasionally, until lightly browned, 4–5 minutes. Transfer bacon to a paper towel–lined plate. Add garlic and shallot to drippings in skillet and cook, stirring occasionally, until softened, about 2 minutes. Stir in chard and 1/2 cup reserved clam liquid and cook, stirring, until chard is just wilted, about 2 minutes. Season to taste with salt and pepper. Stir in butter, vinegar, and as many clams as you'd like. Transfer mixture to a medium bowl.
Wipe out skillet and heat over medium-high heat until very hot. Roll out dough on a lightly floured surface to a 12" round. Sprinkle skillet with cornmeal and transfer dough to skillet. Brush top of dough with oil. Cook, shaking pan occasionally and turning pan to avoid hot spots, until bottom of dough is golden and crispy, 6–8 minutes.
Spread chard mixture over dough. Bake until crust is golden and cooked through, 6–8 minutes. Scatter bacon and cheese over; cook just until cheese is melted, 2–3 minutes longer.

Wednesday, April 23, 2014

Moroccan Chicken with Olives, Almonds, and Lemons


My trip to Morocco, which I've posted about exhaustively, made me fall pretty majorly in love with North African food. Almost everything we ate was insanely good, from the pigeon bastilas (flaky, crispy dough with minced pigeon meat inside mixed with spices and almonds) to the countless chicken and fish tagines I ordered, to the addictive m'smen breads that I bought from every street vendor I saw selling them. And so, the second my boyfriend and I got home, I went on an Amazon spree and ordered three Moroccan cookbooks, and immediately started a full-throttle project to up my tagine game. Stews seemed like an easy place to start. I've always like stews. 

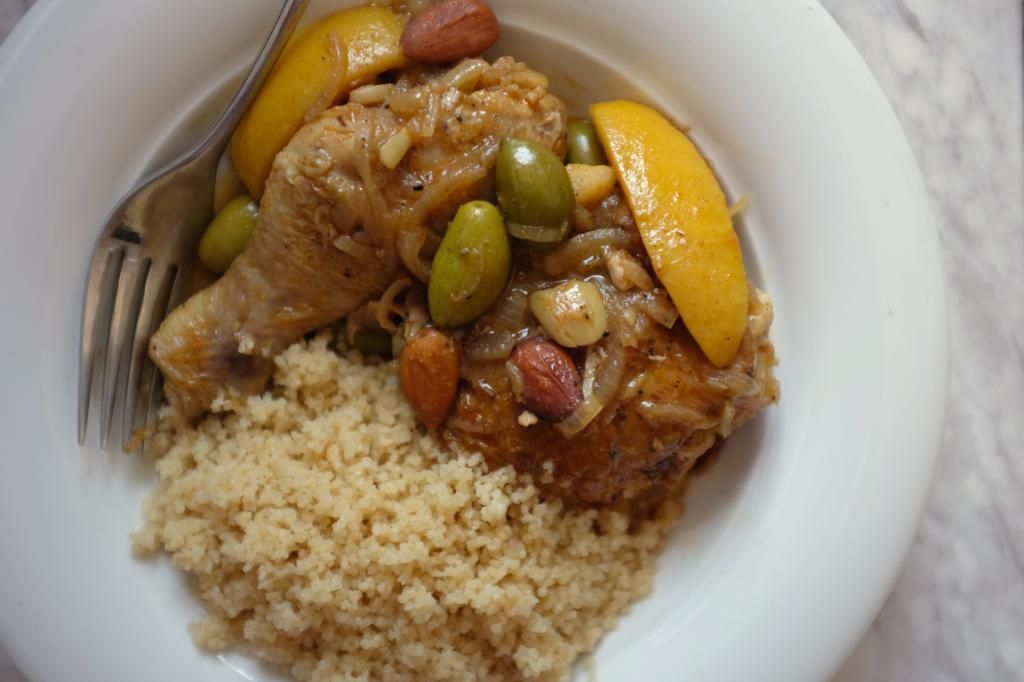
And here is the fruit of my labor; a savory chicken braise with some almonds, onions, green Lucques olives, and lemons thrown in to create a whole that was way bigger than the sum of its parts. The chicken falls tenderly off the bone, the olives and lemon add some brightness, and the almonds a nice crunch. Perfect over a bed of couscous steamed in a bath of homemade chicken broth (confession: I was in such a hurry to get this thing going that I used store-bought broth, although I'm 100% sure homemade would've elevated the whole thing). It's a nice starter dish to Moroccan cooking. Next up: homemade m'smen! xo

Moroccan Chicken with Olives, Almonds, and Lemons
Ingredients:
2 Meyer lemons (or regular lemons if you can't find Meyer)
2 tablespoons olive oil
1 3-4 lb organic chicken cut up into 8 pieces
Coarse salt and pepper
1 large onion, halved, thinly sliced
2 garlic cloves, crushed
1 tablespoon paprika
2 teaspoons ground cumin
1 teaspoon ground cinnamon
1 teaspoon ground ginger
1/2 teaspoon ras al hanout
2 cups homemade chicken broth or store-bought low-salt chicken broth
Handful of raw almonds
1/2 cup green olives

Directions:
Cut 1 lemon into 8 wedges. Squeeze enough juice from second lemon to measure 2 tablespoons; set wedges and juice aside. Heat 2 tablespoons oil in large skillet over medium-high heat. Sprinkle chicken pieces with salt and pepper. When oil is sizzling, place chicken pieces skin side down in the skillet and brown evenly on both sides until crisp and golden. Lower the heat if you feel like you need to. Do this in batches if you can't space out the pieces nicely in one go. Set pieces aside.
Add onion to the skillet and sprinkle lightly with salt and pepper; saute until golden brown, about 8 minutes. Add next 6 ingredients; stir 1 minute. Add broth; bring to boil. Add chicken. Add lemon wedges and almonds. Cover, reduce heat to medium-low, and simmer until chicken is cooked through, turning occasionally, 25 to 30 minutes. Transfer chicken to platter. Add olives and 2 tablespoons lemon juice to skillet. Increase heat to high; boil uncovered to thicken slightly, about 5 minutes. Season with salt and pepper. Pour over chicken.