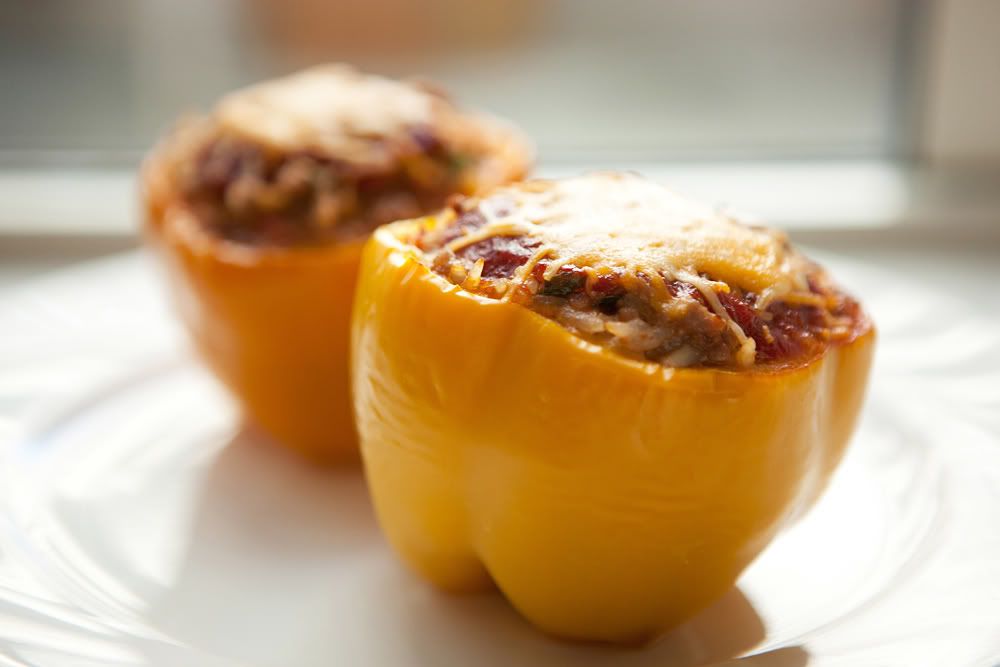
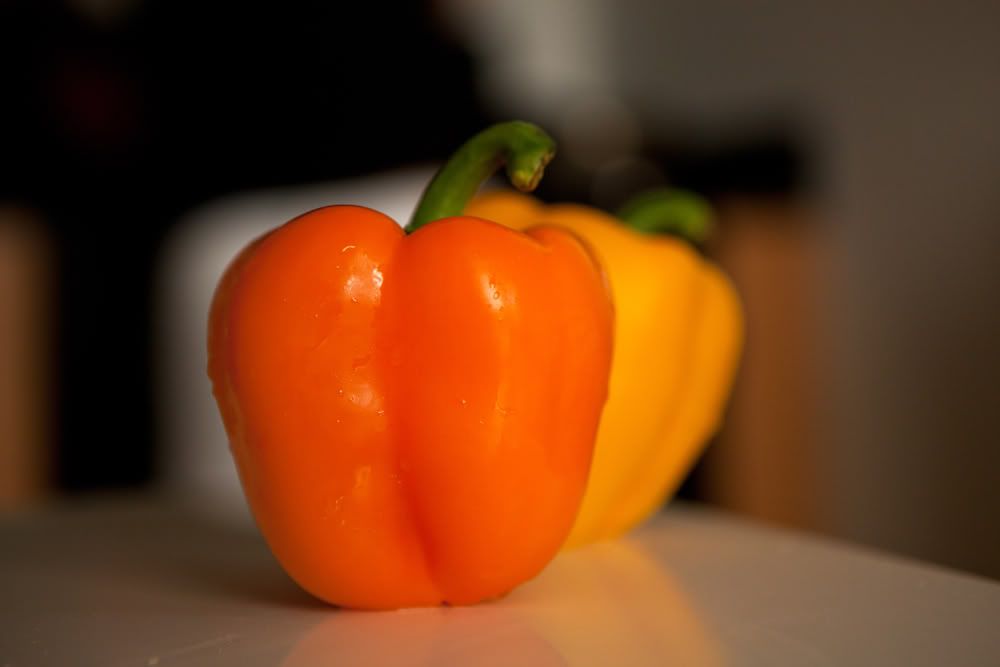
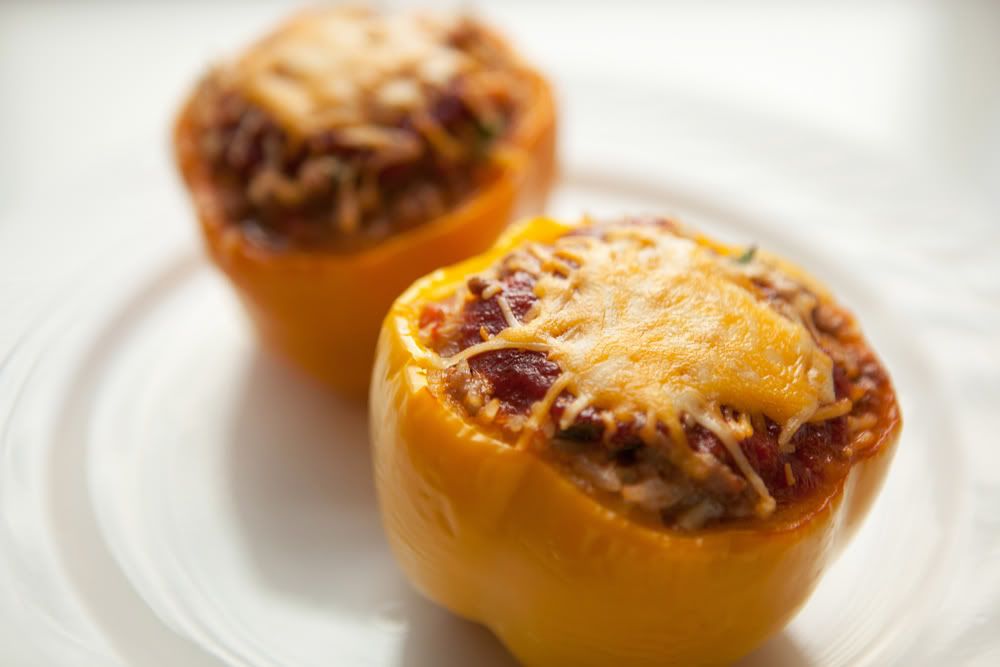
Stuffed bell peppers could possibly be the ultimate in old-fashioned comfort food. Think about it. Those compact packages of goodness contain all the best things in life: ground beef, garlic, tomatoes, onions, cheese, rice. How could it get any better? Before a couple of weeks ago, though, I had never tried to make them myself. They always seemed like impossible little pieces of edible art; pretty and neat, each pepper portioned for exactly one. How could assembling something like that be easy? I would ask myself, staring at pictures of perfectly baked peppers with precisely melted cheese and bits of rice peeking through. Won't the peppers break and fall apart all over my oven? I often wondered. Well, I'm here to tell you that no--no, they will not break apart and screw up your clean oven. The flesh on those peppers is downright sturdy. And yes--yes, they are easy to assemble, easy to bake, and they disappear in about 2 minutes flat. They also have a tendency to make everyone around you very, very happy. Reason enough to whip up a batch asap, in my opinion. All pictures by Mark Iantosca. Recipe down below. xo


Stuffed Bell Peppers
Serves 4
Ingredients:
4 large red, yellow, or orange bell peppers, 1/2 inch trimmed off tops, stemmed, and seeded
Salt and pepper
1/2 cup long-grain white rice
1 1/2 tablespoons olive oil
1 onion, chopped fine
12 ounces 85 percent lean ground beef
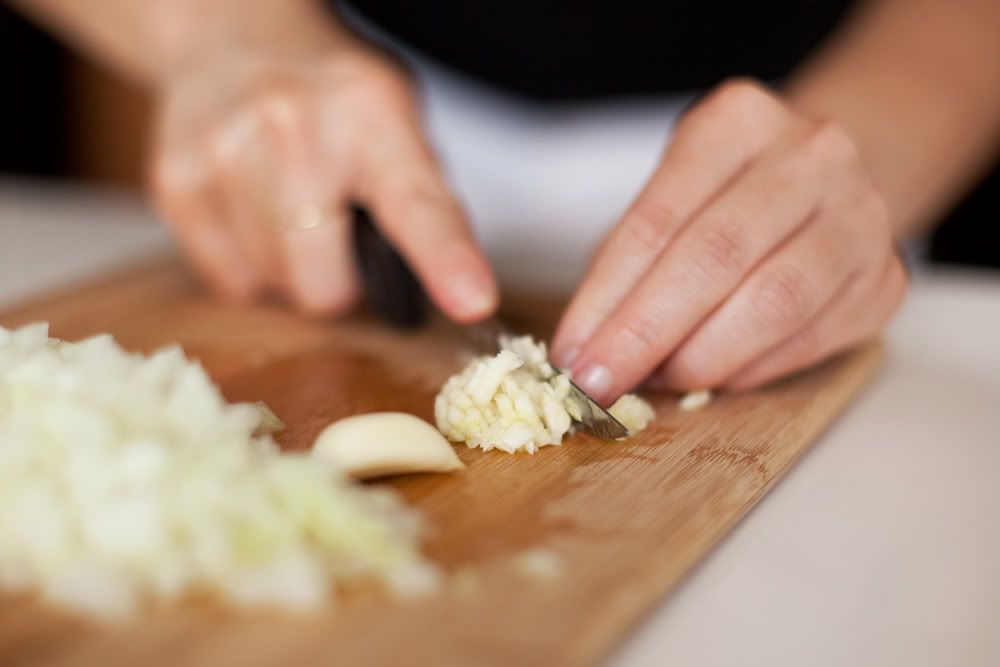
4 garlic cloves, minced
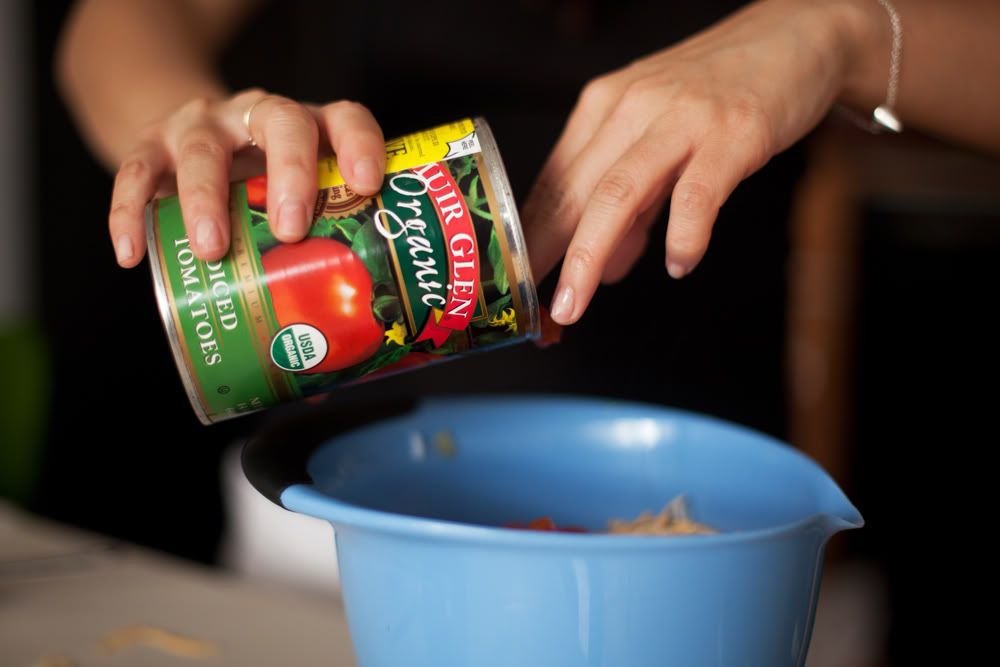
1 15-ounce can diced tomatoes, drained, with 1/4 cup juice reserved
1 1/4 cups Monterey Jack cheese, shredded
2 tablespoons fresh parsley, chopped
1/4 cup ketchup
Directions:
Adjust oven rack to middle position and heat oven to 350 degrees.
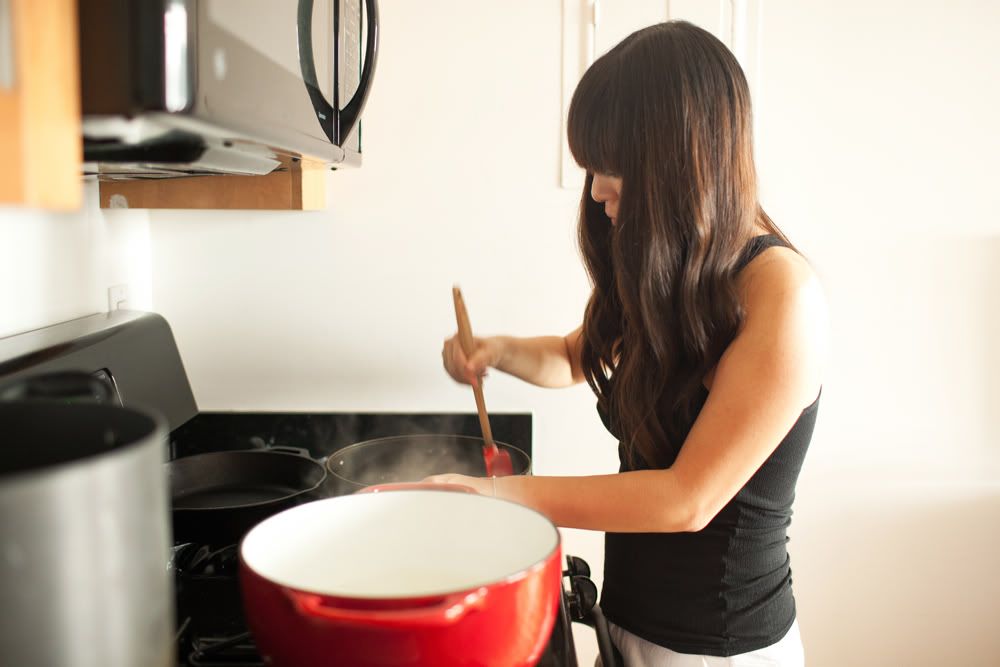
Bring 4 quarts water to boil in Dutch oven over high heat. Add bell peppers and 1 tablespoon salt. Cook until peppers just begin to soften, about 3 minutes. Using slotted spoon, remove peppers from pot, drain off excess water, and place peppers, cut side up, on large paper towel-lined plate. Return water to boil, add rice, and boil until tender, about 13 minutes. Drain rice, then transfer to large bowl; set aside.
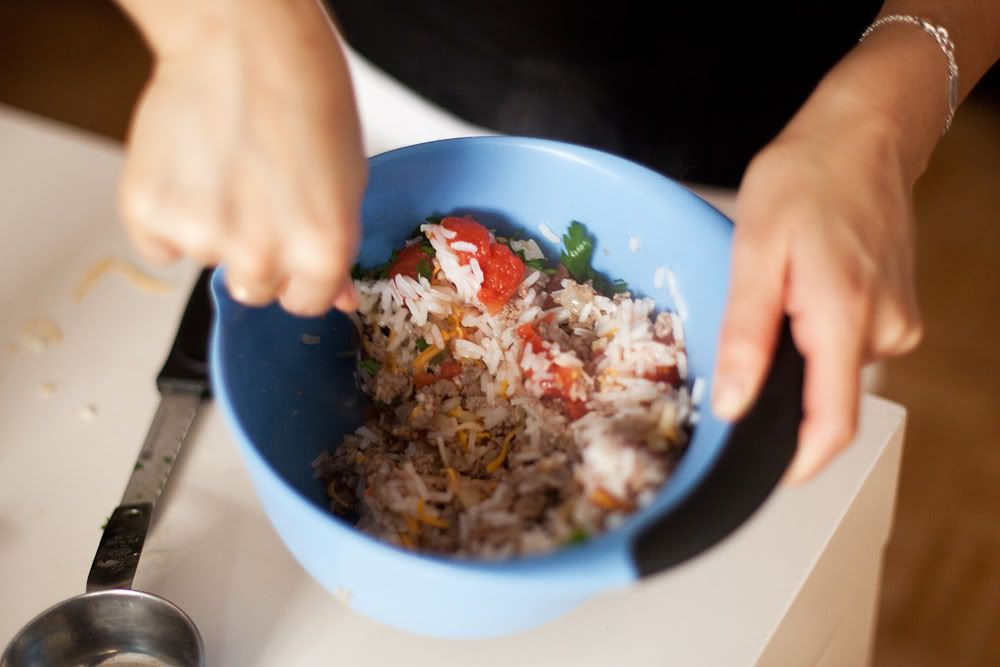
Meanwhile, heat oil in 12-inch skillet over medium-high heat until shimmering. Add onion and cook, stirring occasionally, until softened and beginning to brown, about 5 minutes. Add ground beef and cook, breaking beef into small pieces with spoon, until no longer pink, about 5 minutes. Stir in garlic and cook until fragrant, about 30 seconds. Transfer mixture to bowl with rice, stir in tomatoes, 1 cup cheese, and parsley and season with salt and pepper to taste.
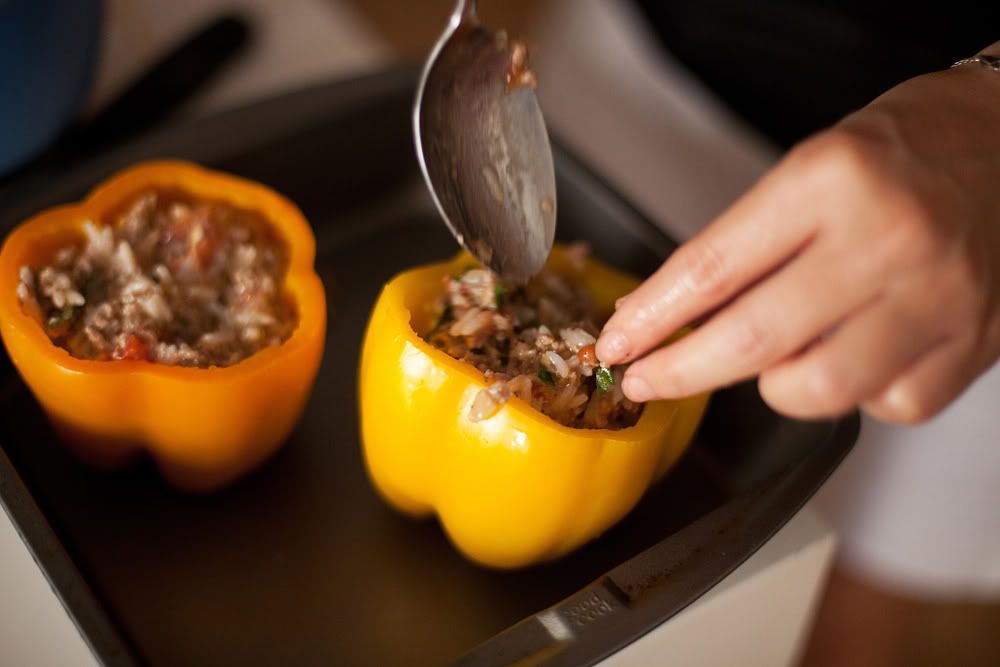
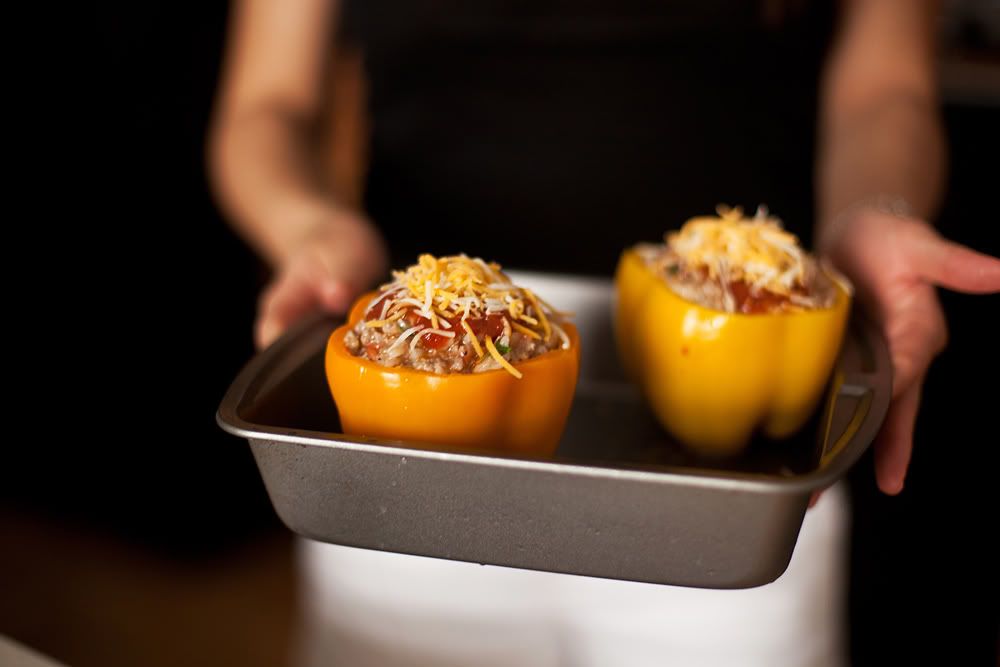
Combine ketchup and reserved tomato juice in small bowl. Place peppers, cut side up, in 9-inch square baking dish. Using a spoon, divide filling evenly among peppers. Spoon 2 tablespoons of ketchup mixture over each filled pepper and sprinkle each with 1 tablespoon cheese. Bake until cheese is browned and filling is heated through, 25 to 30 minutes. Serve immediately.